Create & Invite Users
Complete guide to user management in Winvoice: email invitations, Auth0, Visma Connect, roles, multi-company access, and the Replace User tool.
Overview: User Management and Authentication
As an invoice administrator in Winvoice, you can easily invite new colleagues, consultants, or auditors to the organization. User administration is flexible and supports both single-recipient invitations and batch imports via Excel.
Login and Authentication Methods
Winvoice supports two primary authentication paths:
- Winvoice Account (Auth0): The user signs in using their email address and a personal password chosen when accepting the invitation.
- Visma Connect: If the user or organization already maintains a Visma account, they can sign in via Visma Connect (Single Sign-On). Ensure the invitation is sent to the identical email address registered with their Visma profile.
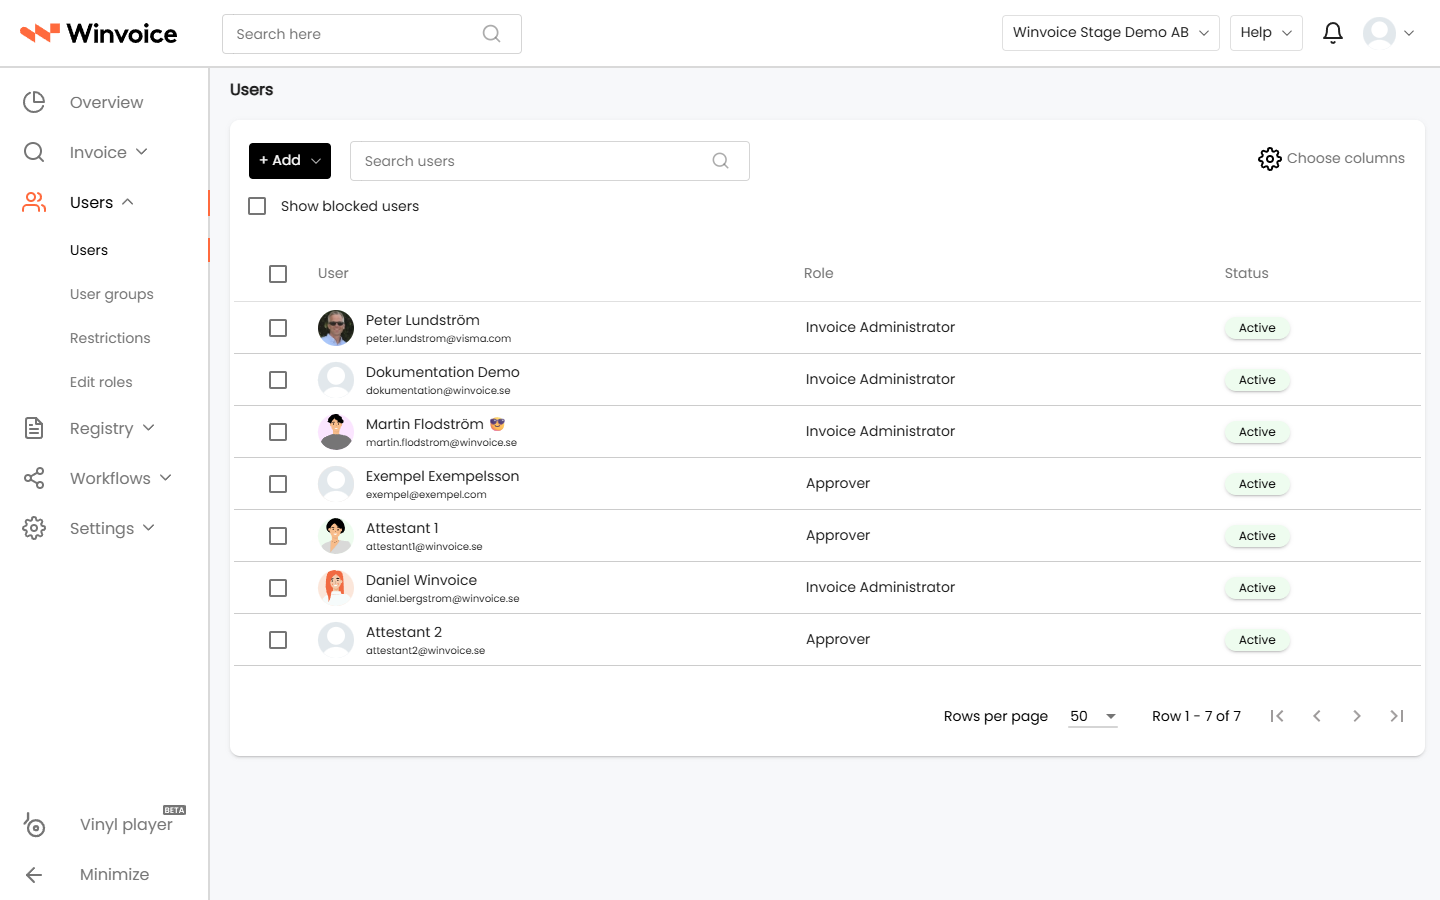
User administration is located under Users → Users in the main navigation menu.
1. Inviting New Users
Navigate to Users → Users and click Add (or Invite).
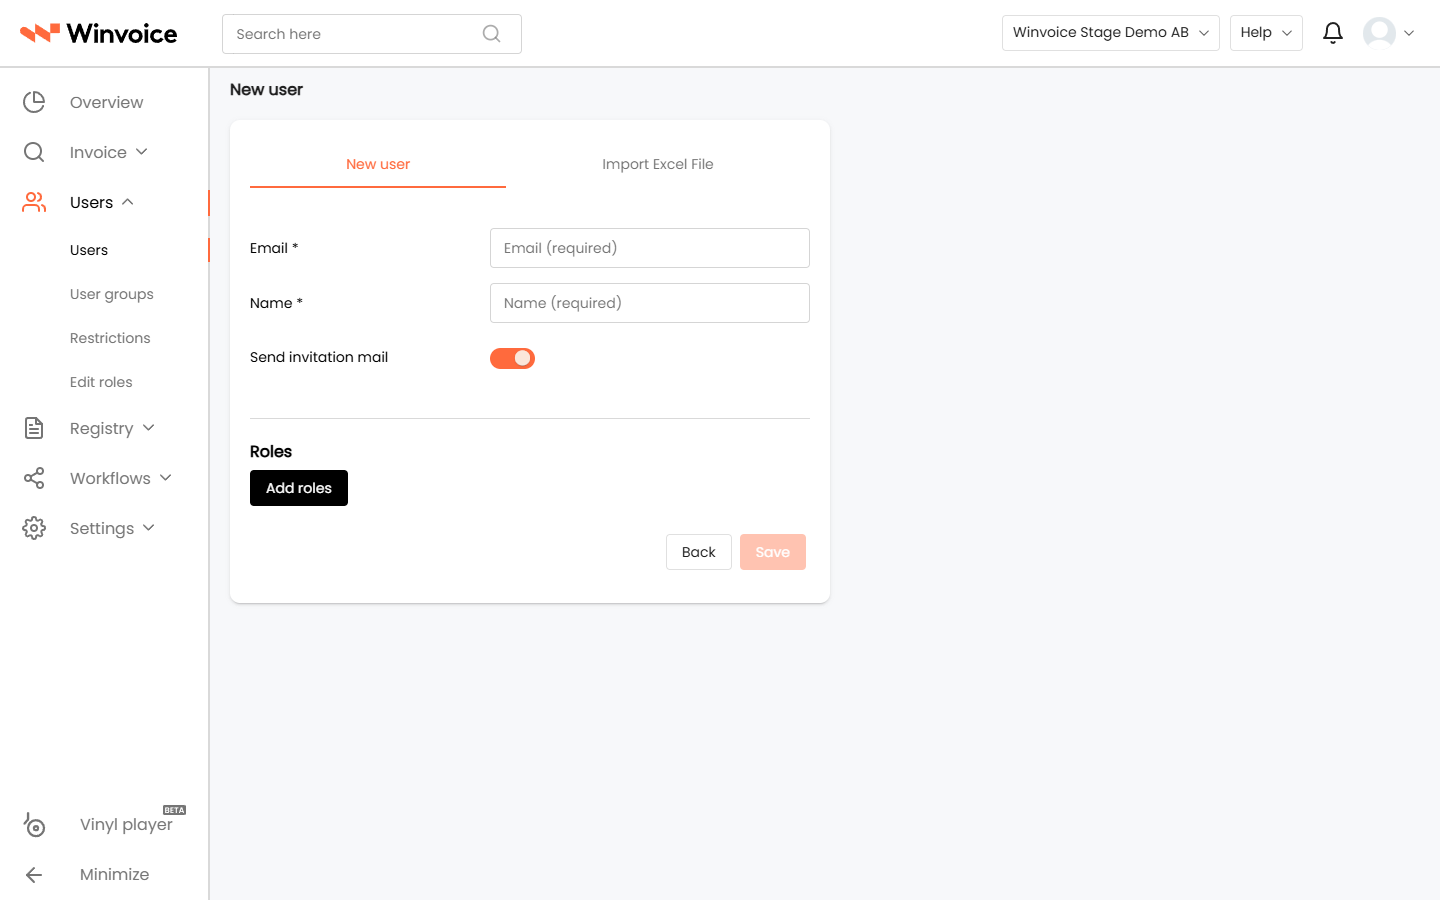
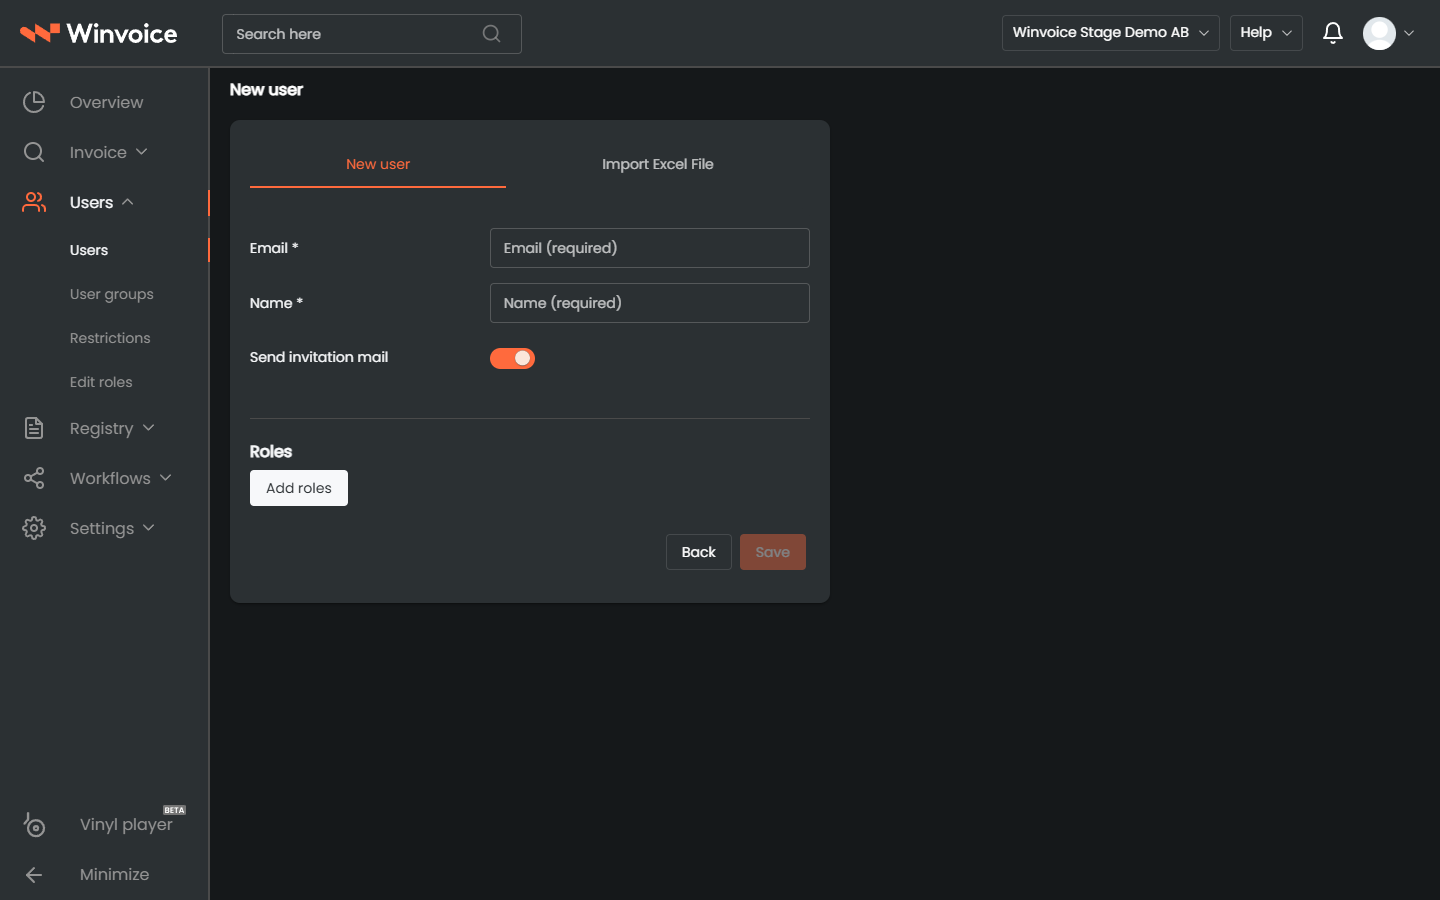
The invitation dialog provides two distinct methods:
Method A: Manual Invitation
- Specify Email Addresses:
- Enter the recipient's email address.
- Click + to add multiple email addresses if inviting several individuals who share identical roles and organizational permissions.
- Assign Roles and Organizations:
- Select a foundational role: Invoice Administrator, Approver, Finance, or Auditor.
- Select the connected organizations (group companies) the user is permitted to access.
- Customize Permissions (Optional):
- Winvoice automatically populates default permissions linked to the selected role.
- To add specialized permissions (e.g. permission to manage suppliers) or remove specific privileges, move individual items between Unselected and Selected.
- Click Send Invitation. An email is dispatched immediately containing a secure, personalized activation link.
Method B: Batch Invitations via Excel Import
When onboarding many users simultaneously (e.g. establishing a new legal entity or undertaking organizational restructuring):
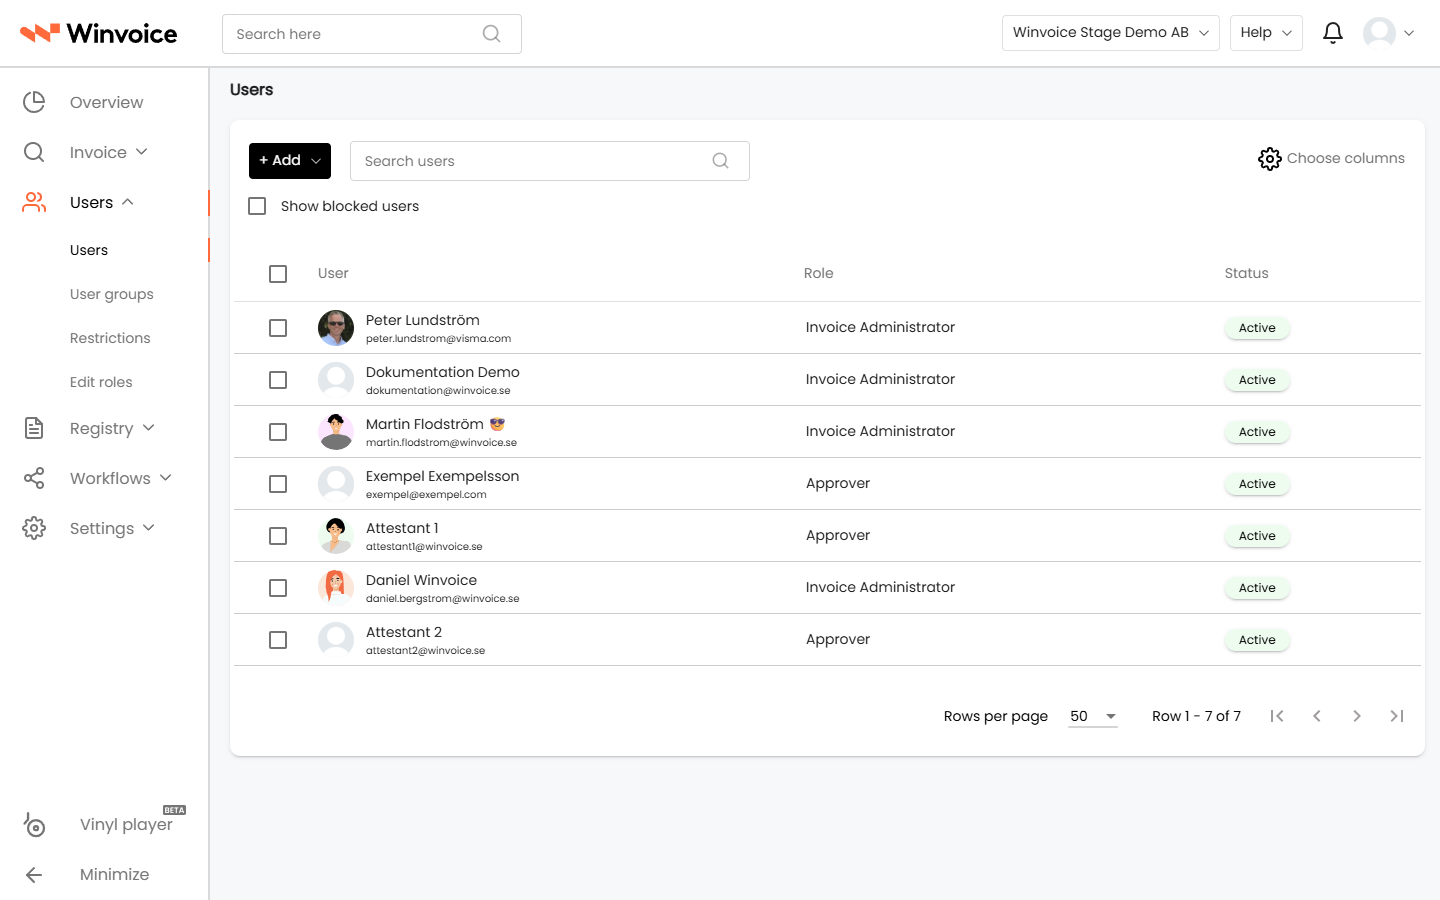
- Select the Import from Excel tab in the invite dialog.
- Download the official Excel template.
- Enter email addresses, assigned roles, and company identifiers.
- Upload the file. Winvoice validates each row and dispatches the invitations in batch.
2. Managing Existing Users
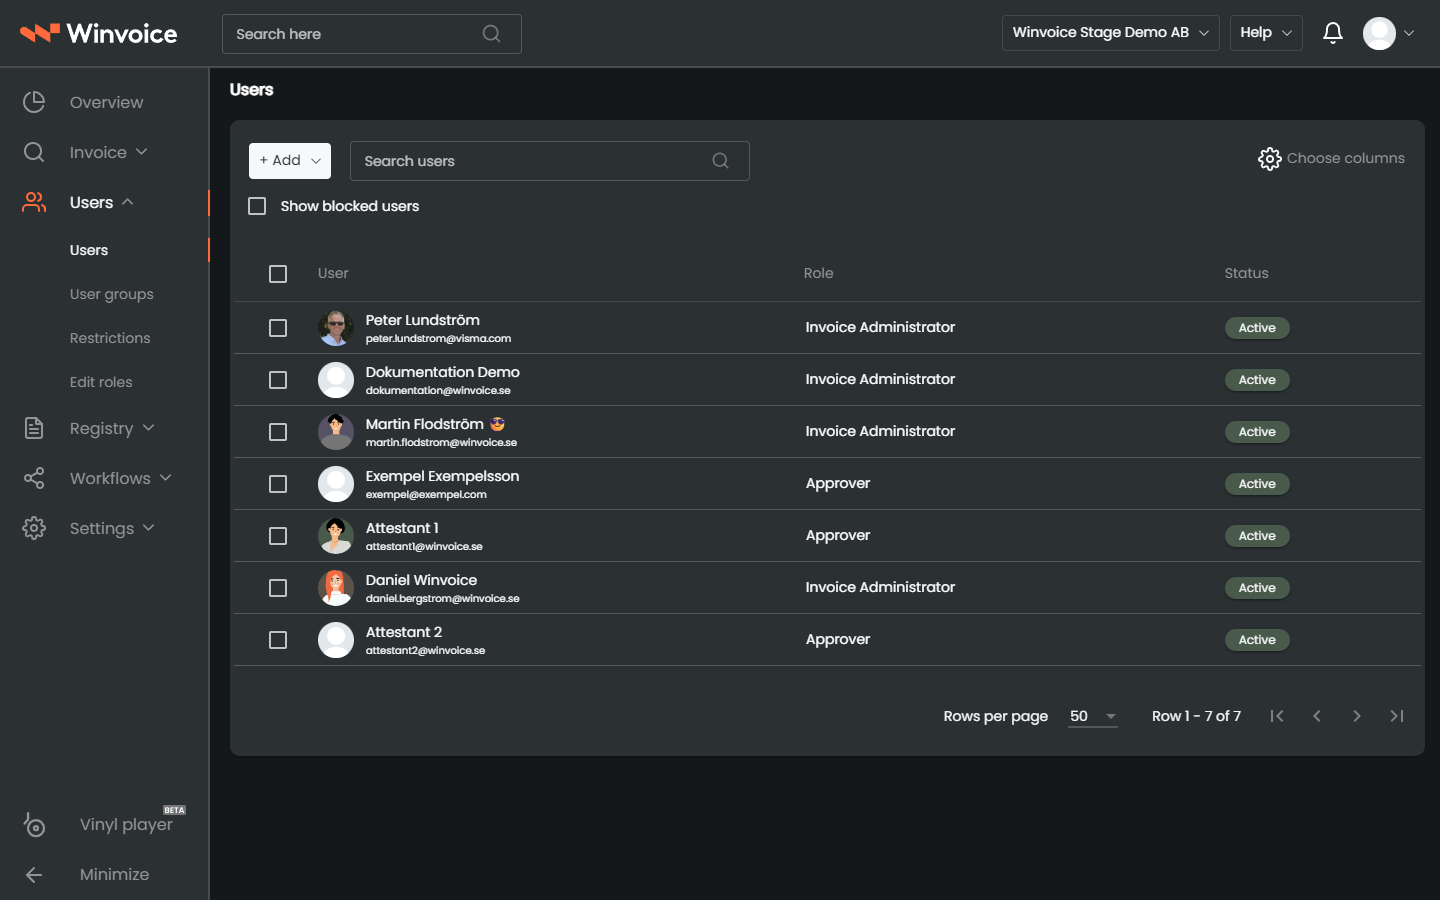
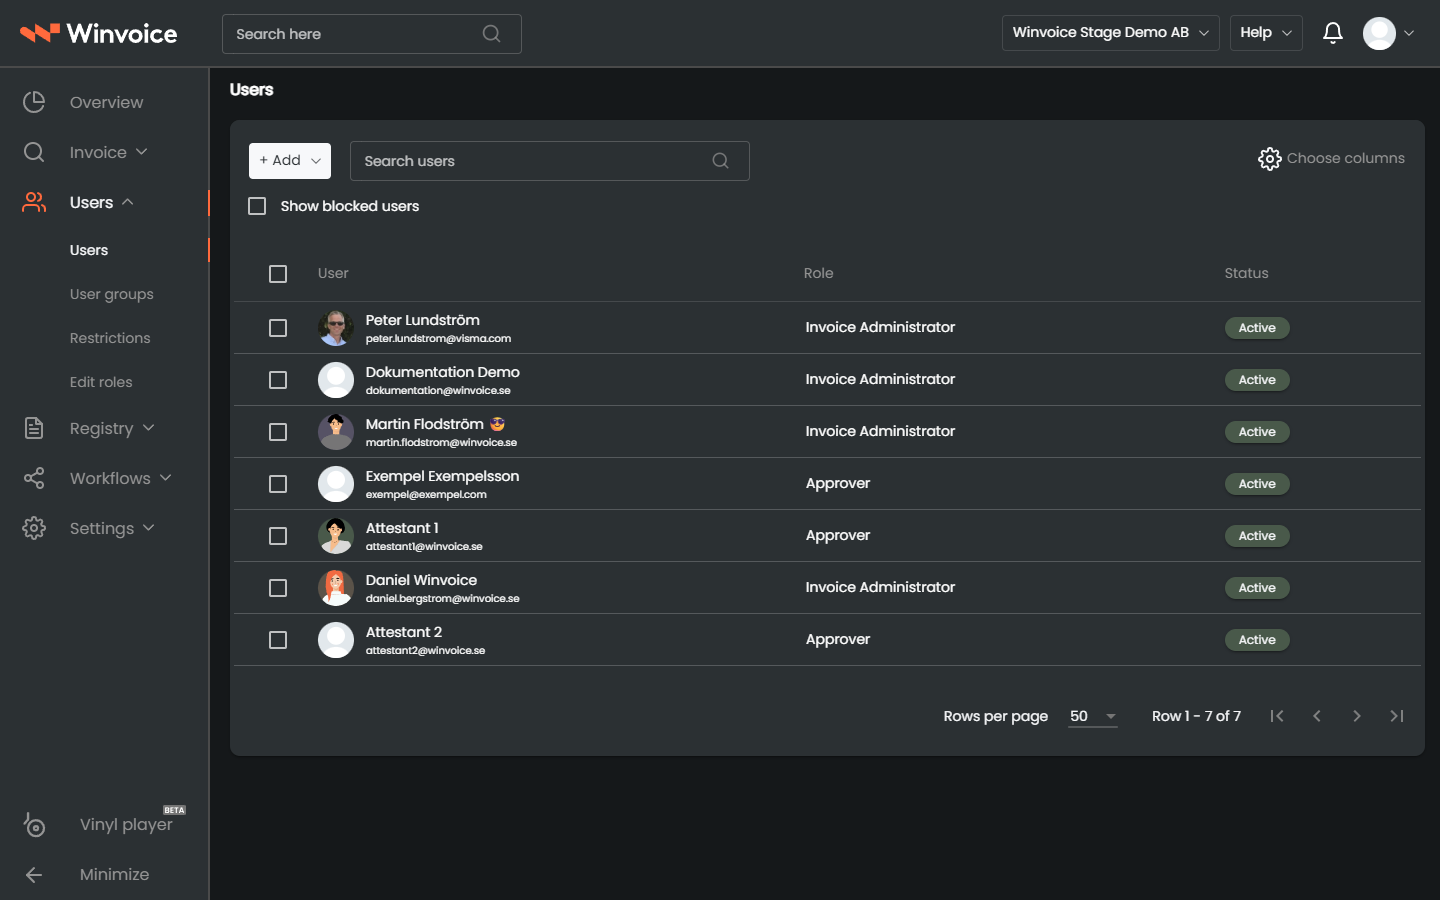
The user directory under Users → Users displays all active users and pending invitations.
Role-Based Access Control (RBAC)
Winvoice separates permissions from individual user identities:
- By utilizing roles, you can reliably grant consistent access across entire departments.
- A user can maintain different roles across different companies under a single unified sign-on.
To safeguard business continuity, Winvoice warns and blocks administrators from removing a role if the user remains actively tied to a system registry, an active approval workflow, or an open review queue. Responsibilities must be reassigned prior to role deactivation.
The "Replace User" Tool
When an employee resigns or transitions to a different department, administrators do not need to manually comb through hundreds of approval workflows and pending invoices:
- Open the user profile or click the action tools menu.
- Select Replace User.
- Choose the designated successor.
- Winvoice automatically migrates all active invoices, approval queues, and routing definitions to the new assignee with full audit-trail integrity preserved.
Quick Register Navigation
For streamlined administration, use list checkboxes to select multiple users for batch actions, and utilize the record stepper (< Previous | Next >) in the profile header to navigate sequentially across profiles without returning to the list view.
3. Security and Sessions
- Activation: The user clicks the link in their invitation email to establish their password (Auth0) or authenticates via Visma Connect.
- Password Standards (Auth0): Passwords must contain a minimum of 12 characters, including uppercase, lowercase, numerical, and special characters.
- Automatic Inactivity Timeout: To protect sensitive financial records, active sessions terminate automatically following prolonged inactivity.