Fortnox - Create & Connect Company
Step-by-step guide to creating and connecting a company in Winvoice to Fortnox via OAuth2 and REST API.
Create a New Company Connected to Fortnox
This guide describes how to create a company in Winvoice and connect it to Fortnox. To complete the steps in this guide, the company must already be set up in Fortnox, and you must be a system administrator.
- Start by clicking the company switcher in the top right corner.
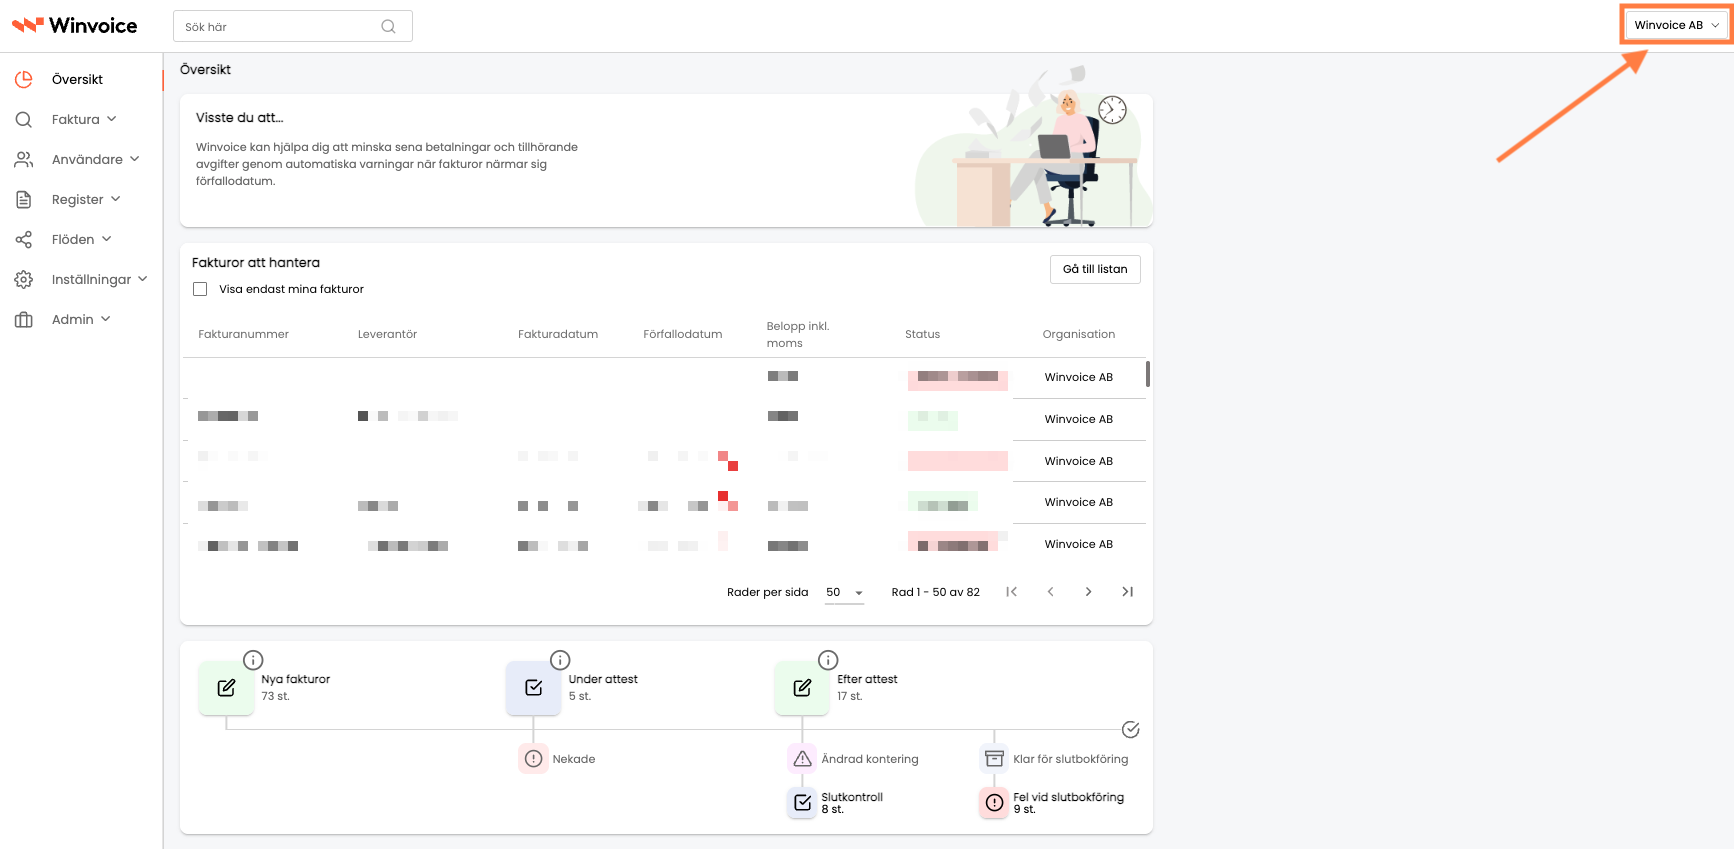
- Click on +.

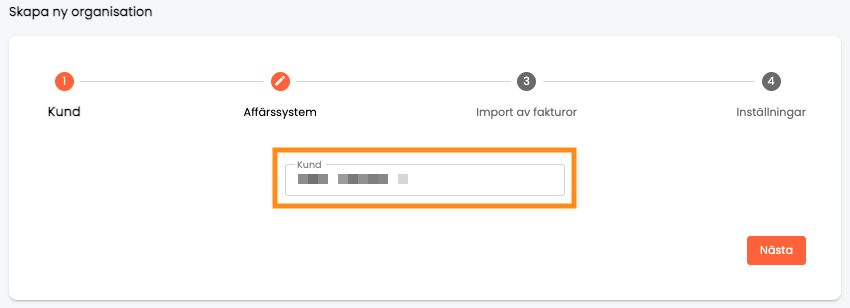
- If you work at an accounting agency with multiple clients, select which client license the company should be created under, then click Next. If you only have one client account in Winvoice, you do not need to change anything—simply click Next.
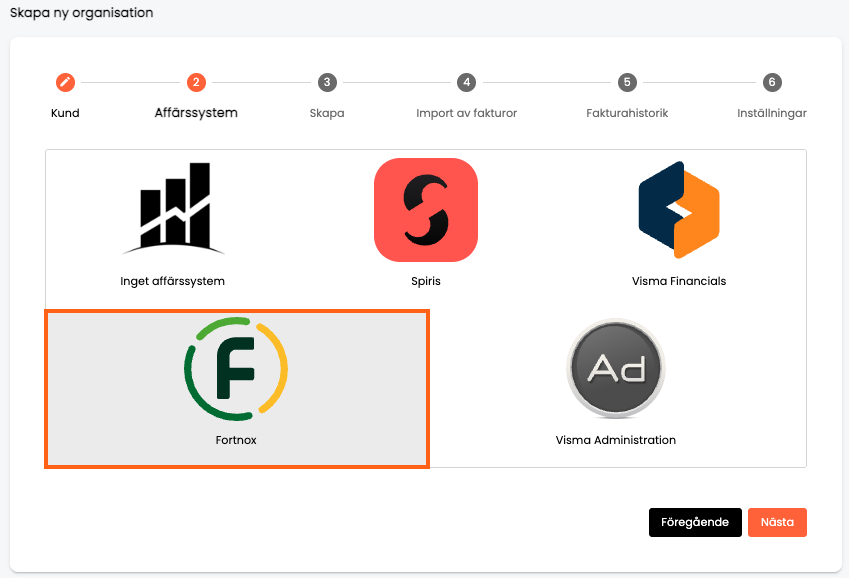
- Select Fortnox as your ERP system, then click Next.
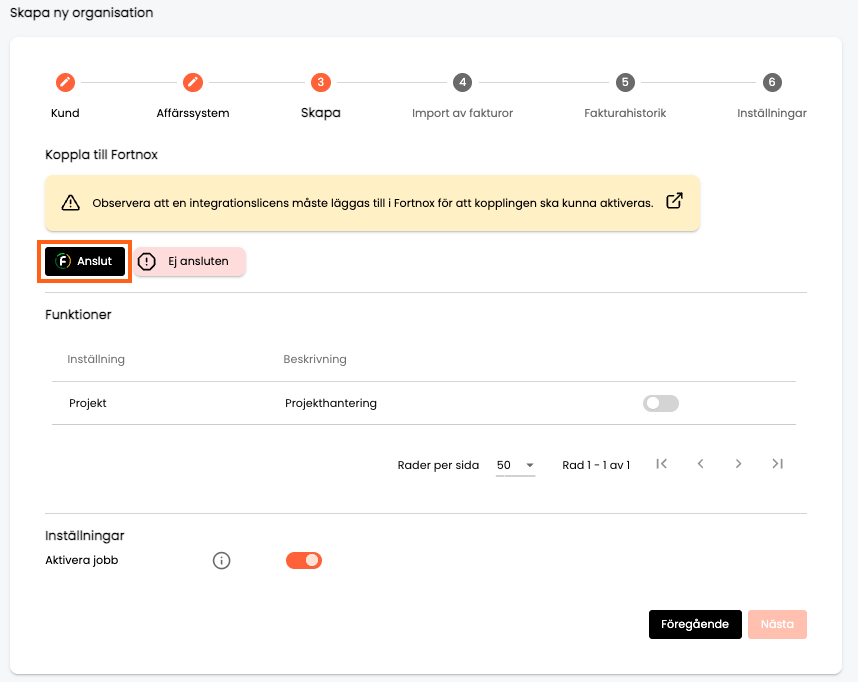
- Click Connect to link the company to Fortnox. A separate window will open.
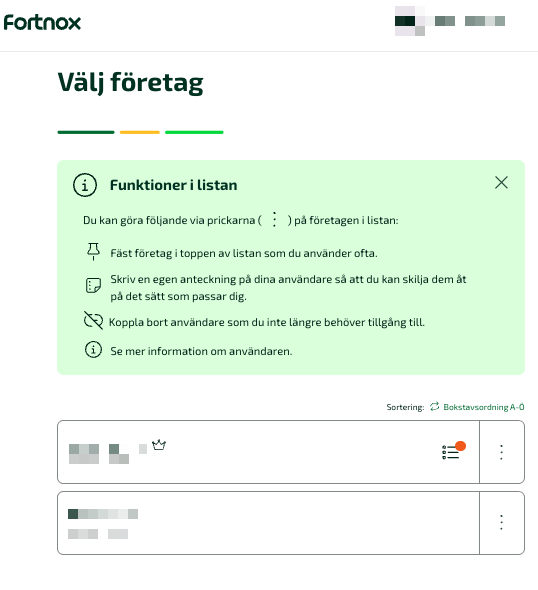
- In the new window that opens, select the company you want to integrate with Winvoice. NOTE: Ensure you select the correct company so that you do not inadvertently import incorrect registers.
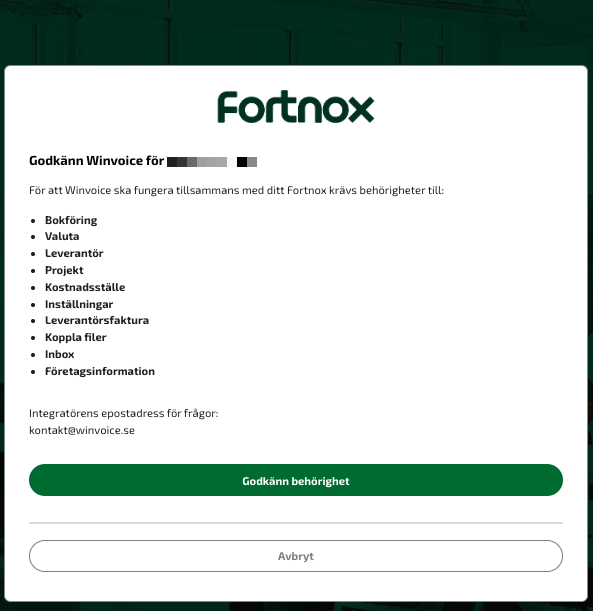
- Click Authorize.
- Confirm that the status now indicates that the company is connected.
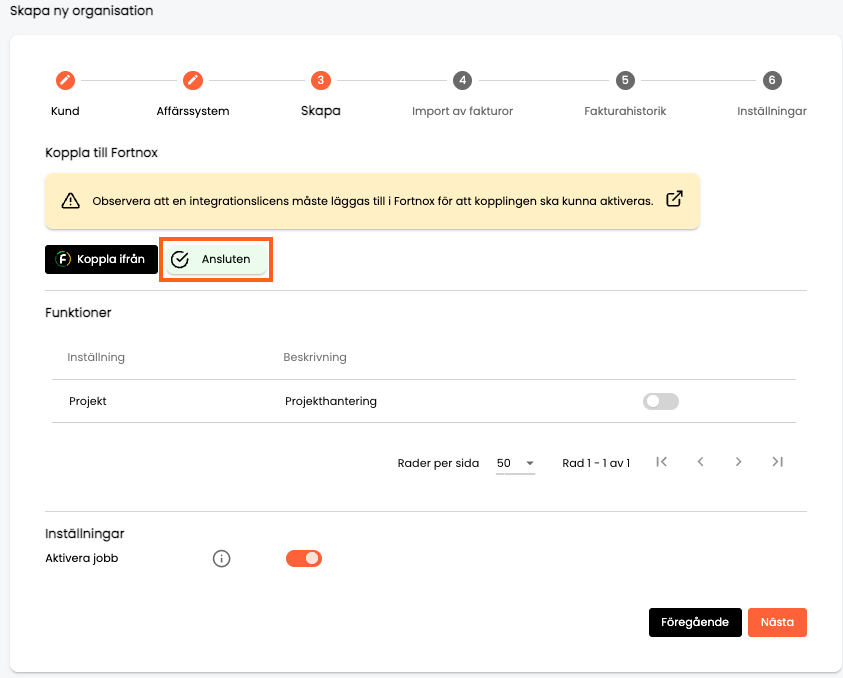
- If the company will work with projects, check Projects. If not, leave it unchecked.

Click Next.
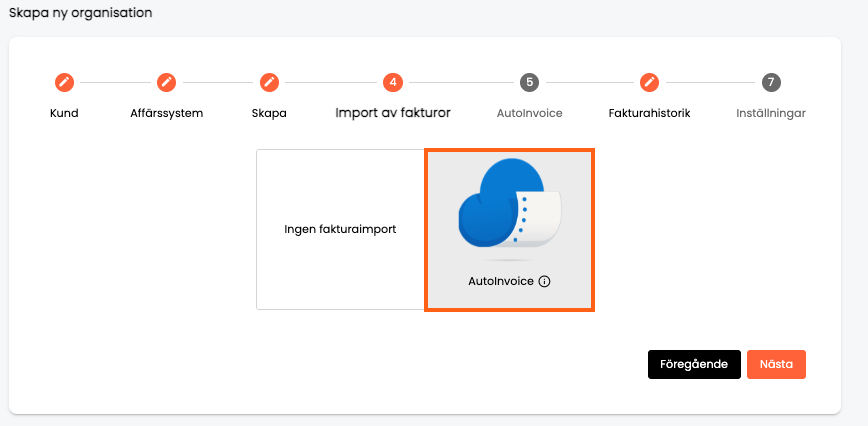
- Select AutoInvoice for invoice import, then click Next.
- Fill in the company details in the fields below.
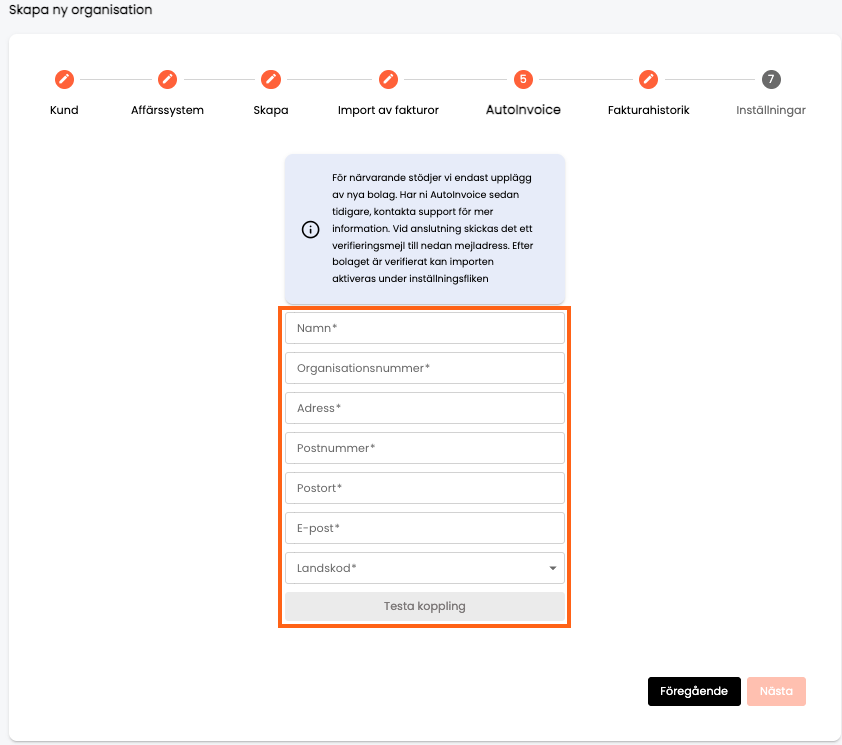
The email address entered will be registered as the contact address. It will also receive an agreement from AutoInvoice that must be signed via VismaSign before invoice import can be activated for the company. The agreement is sent out via email as soon as the company is created. An AutoInvoice menu will also appear under Settings where you can activate your addresses once the agreement has been signed. Once all details are filled in, click Test Connection. If the result is "The company can be connected", click Next. If the company cannot be connected, it is likely because the company already has an active AutoInvoice connection. In that case, contact our support team at support@winvoice.se for further assistance.
- Choose whether you want to import historical data from Fortnox. If you wish to import history, select Fortnox and specify the date range from which you want to retrieve invoices. Invoices with an invoice date within that range will be imported.
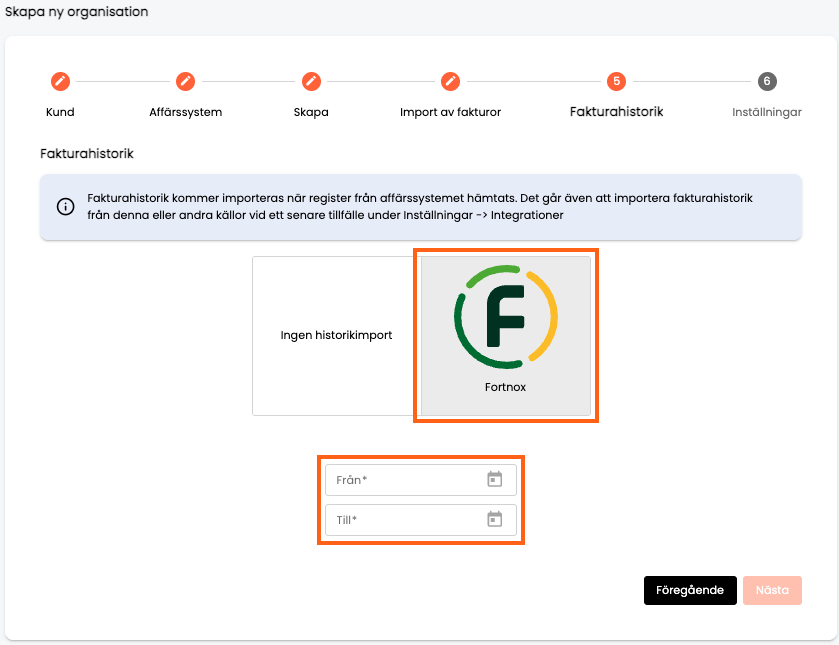
If you do not want to import historical data, click No history import, then click Next.
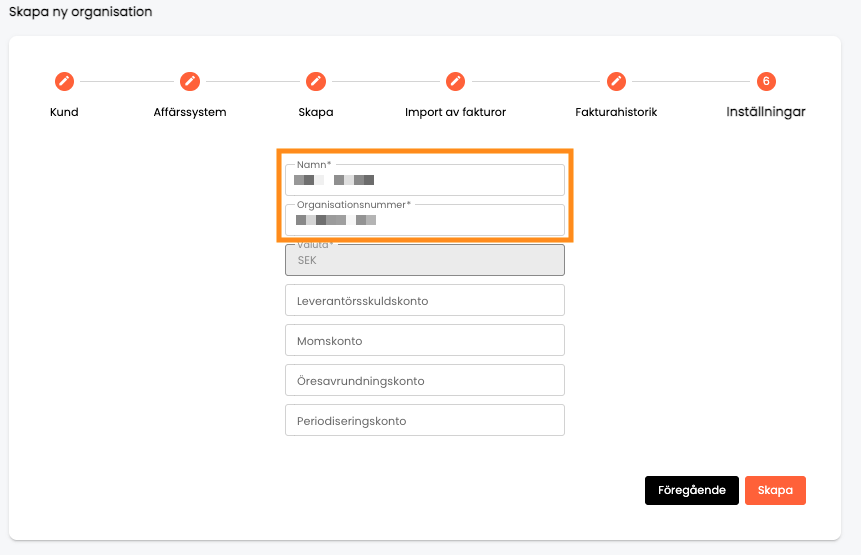
- Verify that Name and Corporate Registration Number look correct for the company. Then click Create.
- You have now created the company in Winvoice and connected it to Fortnox! The register import starts automatically, and you can track its progress under Settings → Integrations → Fortnox. When the import is complete, the job changes status from "Running" to "Active".
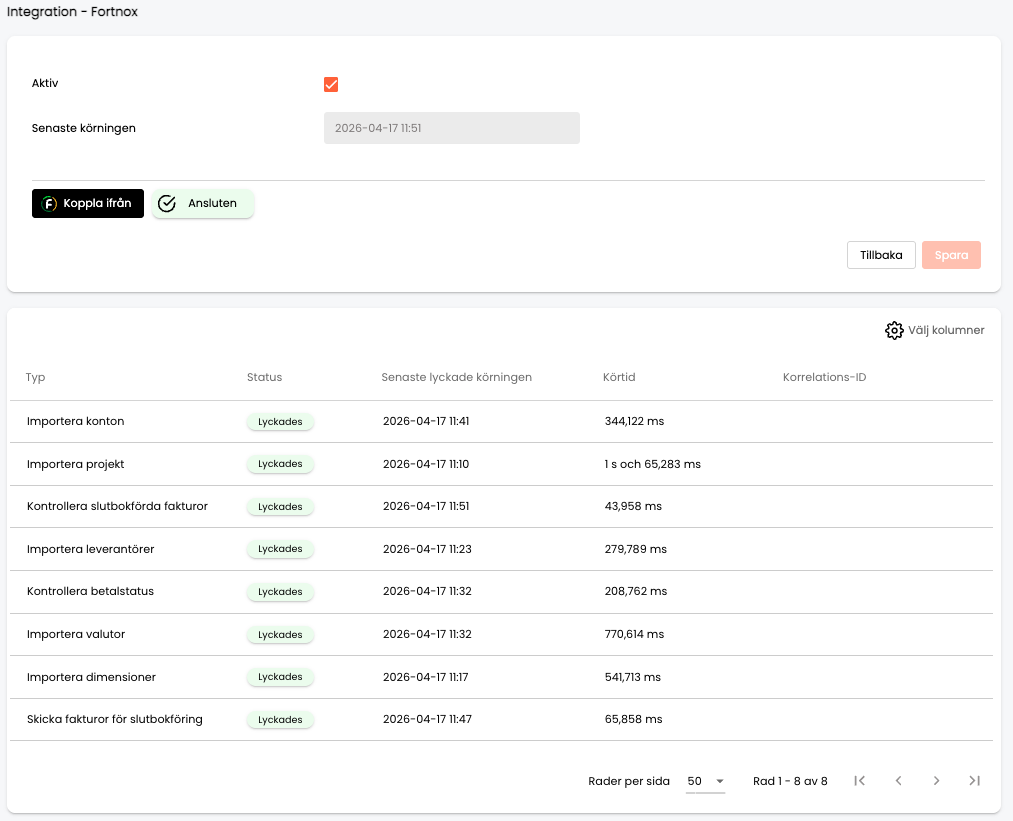
You can confirm that all registers have been imported properly once the sync finishes by checking the Registry tab. If you chose to import history, that will run automatically right after all registers from Fortnox have been imported.
Two-Way Synchronization with Fortnox (2-Way Sync)
Winvoice's Fortnox integration supports bidirectional master data management:
- Suppliers: New suppliers can be created under Registry > Suppliers or directly from the invoice view upon capture. They are saved in Winvoice and exported directly to Fortnox via REST API (
POST /3/suppliers). - Projects: New projects can be created under Registry > Projects and automatically export to Fortnox (
POST /3/projects). - Chart of Accounts & Cost Centers: Automatically retrieved from Fortnox during scheduled sync intervals (every 15 minutes) or manually via Sync now.
Final Posting & Booking Methods
Under Settings -> Integrations -> Fortnox, administrators can select how approved invoices post into Fortnox:
- Supplier Invoice (Standard): The invoice posts to Fortnox Accounts Payable with status Unapproved or Approved, with the original PDF attached.
- Journal Voucher: The invoice posts directly into the general ledger as a journal voucher (e.g. series A) with complete lines and attached PDF.
- Preliminary Booking (Ankomstregistrering): An interim liability voucher is posted upon invoice receipt for early accrual visibility.
Troubleshooting & Common Questions in Fortnox
- Locked Fiscal Year: If the invoice date falls into a locked fiscal year in Fortnox, export will fail. Open the fiscal year in Fortnox or update the invoice accounting date in Winvoice.
- OAuth2 Token Renewal: If the connection ever loses authorization, navigate to Settings -> Integrations -> Fortnox and click Reconnect to re-authenticate with BankID.
- Duplicate Invoice Numbers: Fortnox does not permit two invoices with identical numbers for the same vendor. Ensure credit notes or supplementary invoices have unique references.