Quickstart: Get Started with Winvoice in 15 Minutes
Welcome to Winvoice! This guide is designed to help you as a new customer quickly and securely configure your organization, connect your ERP system, and route your very first supplier invoice for approval.
The entire onboarding process is divided into five simple steps:
Step 1: Connect Your ERP System
Winvoice automatically synchronizes your chart of accounts, suppliers, cost centers, projects, and currencies directly from your ERP system. The platform supports both cloud-based and locally installed ERP systems:
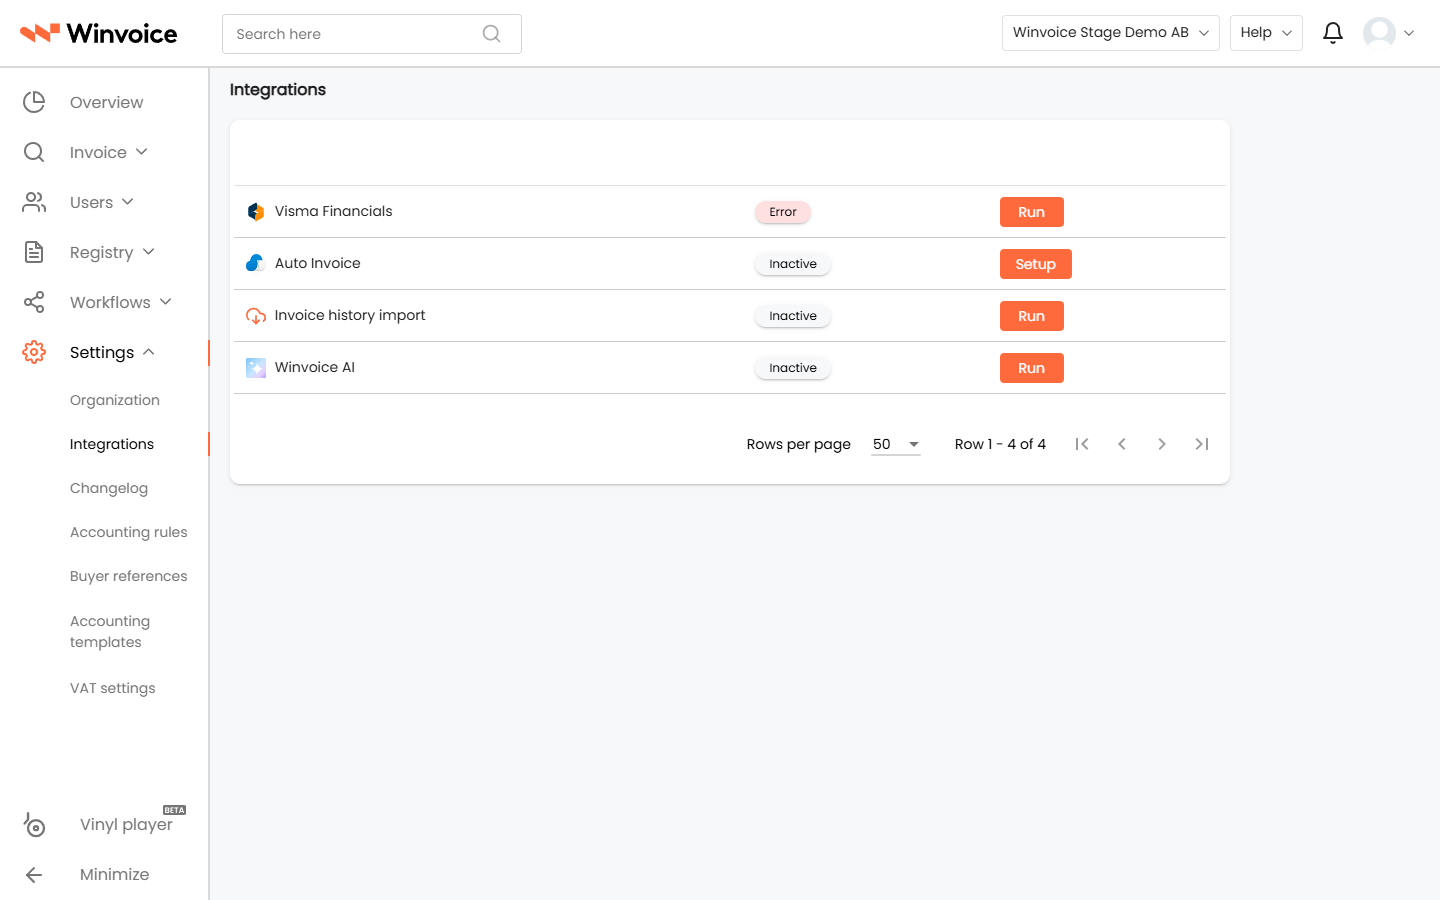
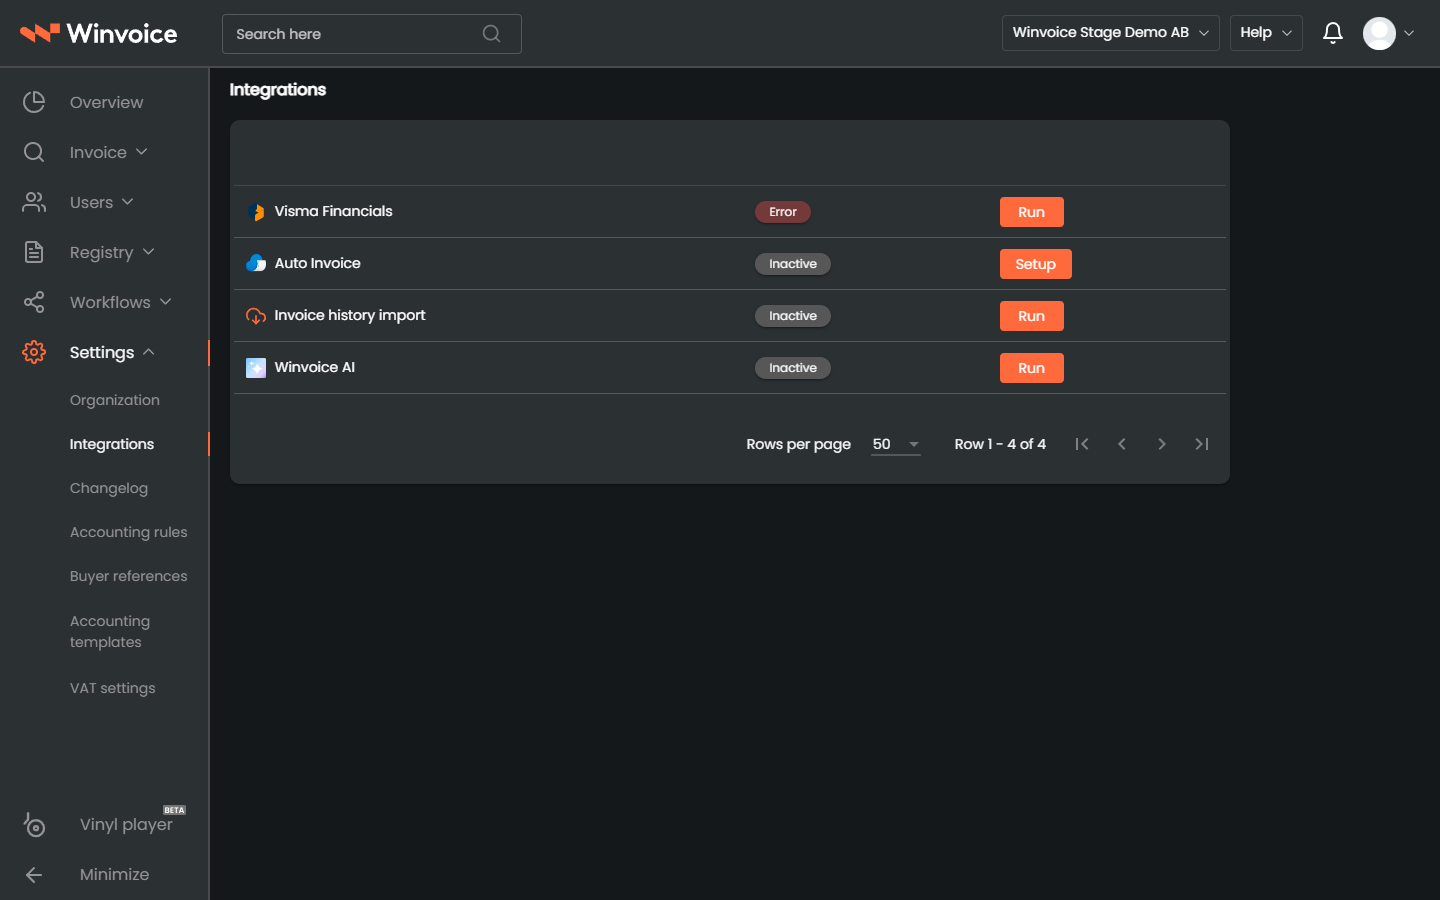
- Log in to Winvoice and navigate to Settings → Integrations.
- Select your ERP system from the list and click Connect:
- Cloud-based systems: Connect seamlessly over the web via secure OAuth/API login where you approve the integration directly.
- Locally installed systems: Connect via Winvoice Agent installed on your server or local environment, handling automated synchronization in the background (see Agent Installation Guide).
- Once the integration is activated, an initial synchronization starts automatically. Within a few minutes, all your master data registers will be available in Winvoice.
Step 2: Verify Default Accounts and VAT
Before processing incoming invoices, Winvoice needs to know which default accounts to use in the background:
- Go to Settings → Organization.
- Click the Default Accounts & VAT tab.
- Review and configure:
- Accounts Payable Account (e.g.
2440) - Input VAT Account (e.g.
2641or equivalent for 25% VAT) - Rounding Account (e.g.
3740/3790) - Default Currency (e.g.
SEK)
- Accounts Payable Account (e.g.
- Click Save.
Default accounts do not override what is strictly enforced in your ERP system; rather, they visualize how preliminary postings and balancing offset accounts are configured in the background.
Step 3: Invite Users and Assign Roles
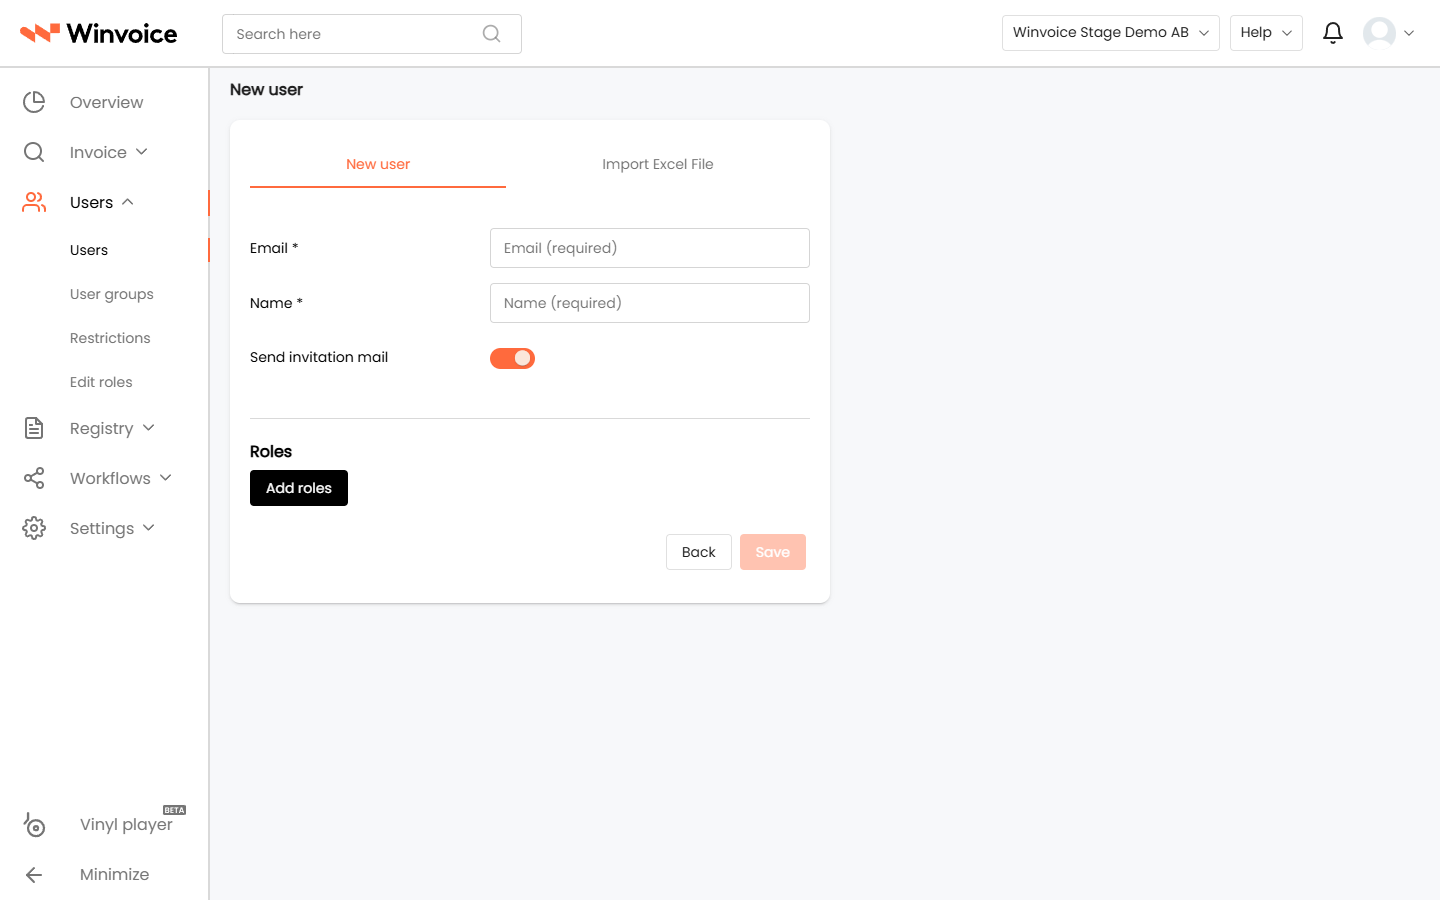
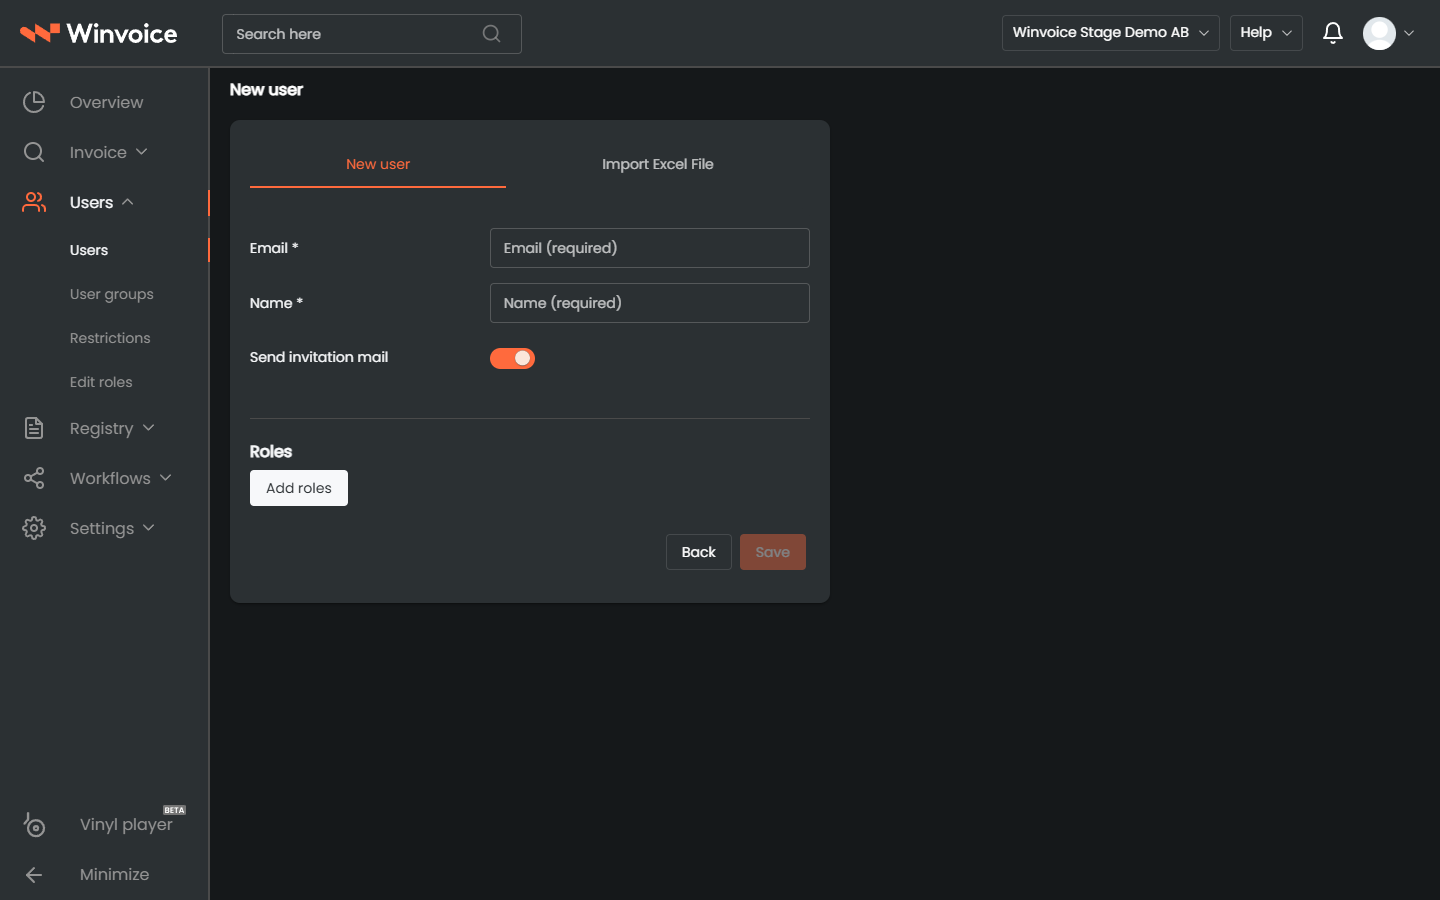
- Go to Users → Invite User (or via the sidebar menu under Users).
- Click New User.
- Fill in the user's email address, first name, and last name.
- Select the user's Role:
- Approver: Can view and approve their own assigned invoices and add comments.
- Invoice Administrator: Can manage all invoices, supplement parsed details, manage registers, and forward invoices.
- Administrator: Has full permissions for all settings, integrations, and user management.
- Choose which organizations the user should have access to and click Send Invitation.
- The user will receive an email containing an activation link to set their password and log in.
Step 4: Create Your First Approval Workflow
An approval workflow ensures that incoming invoices are automatically routed to the right person as soon as they arrive:
- Navigate to Workflows → Approval (under Approvals & Workflows in the menu).
- Click Create New Workflow.
- Give the workflow a name, e.g. "Default Workflow" or "IT Expenses".
- Under When should this occur?:
- Specify conditions, such as matching a specific supplier, or leave blank to apply as a general default workflow for all invoices.
- Under What should occur?:
- Select Add Approver and choose who should approve (or select an approval group).
- Click Save.
For more advanced multi-step chains and authorization limits, see our dedicated guide for Approval Workflows.
Step 5: Submit and Process Your First Invoice
The foundation is now ready! The easiest way to verify the workflow is to submit a test invoice:
- Locate your organization's unique Winvoice email address under Settings → Organization (or see Invoice Addresses & Ingestion).
- Email a PDF invoice to that address.
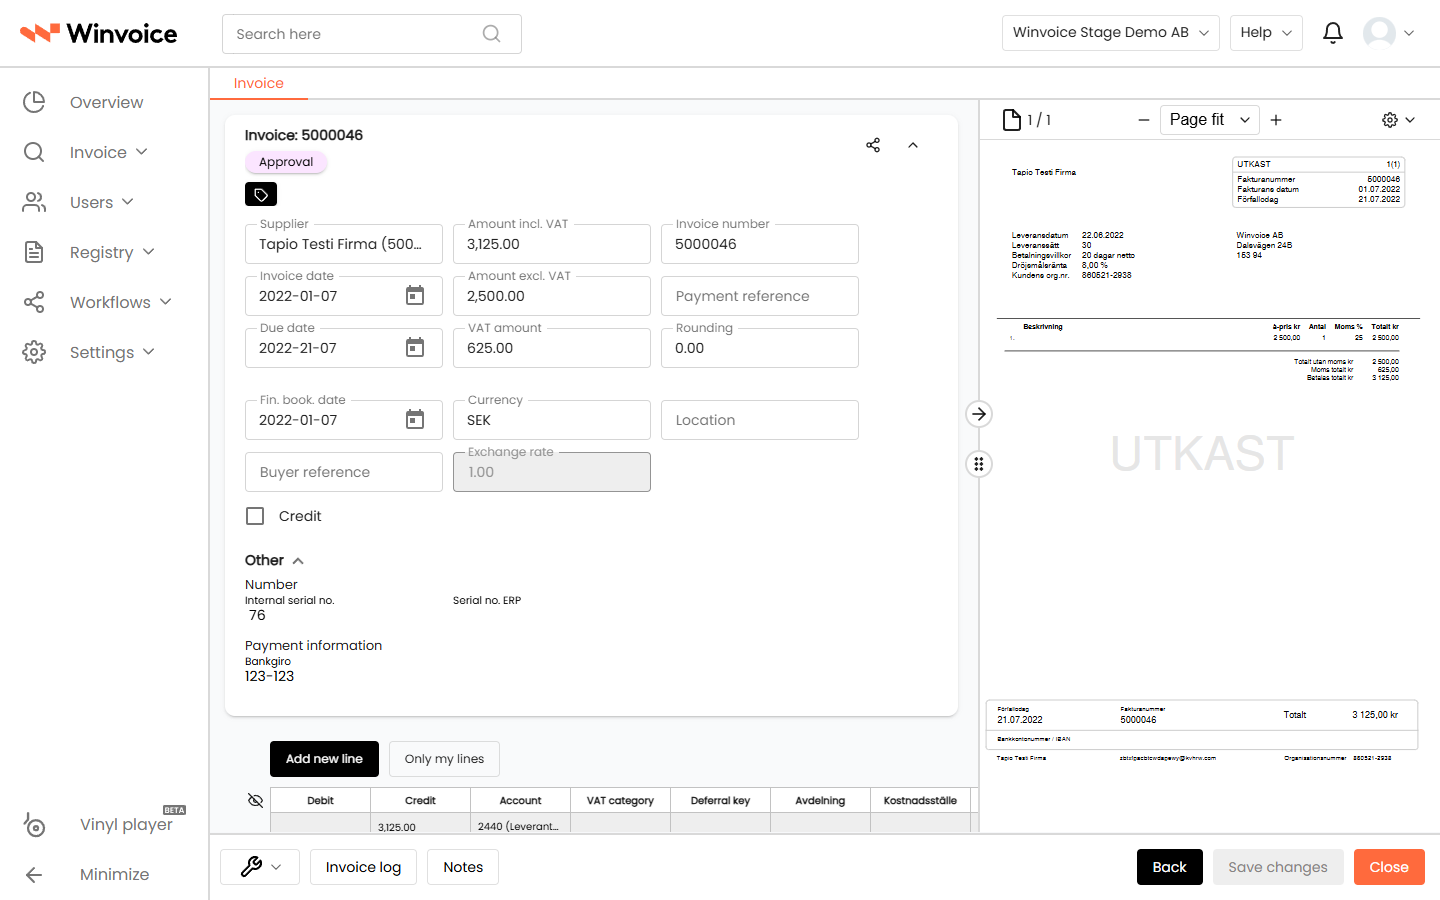
- Shortly after, the invoice will be parsed and appear under Overview and Invoices.
- Open the invoice, verify that the parsed supplier details and amounts match, and verify that your approval workflow assigned the expected approver.
- Click Approve (or approve as the assigned approver) and forward the invoice to final posting!
Pre-Production Checklist
Before switching all your supplier invoices to live production, we recommend reviewing the following:
- Invoice Addresses & Ingestion – How to notify your suppliers regarding email and Peppol electronic addresses for seamless ingestion.
- Coding Templates & Rules – Create reusable templates and automated coding rules for recurring expenses.
- Automated Workflows & Auto-Approval – Automate your approval workflows so recurring invoices are processed touchless.
- Invoice Handling & Final Posting – How invoices are reviewed, approved, and exported to your ERP for payment.