Incoming Workflows – Automated Processing on Ingestion and OCR
Complete guide to incoming workflows in Winvoice: automation upon import, accounting templates, invoice types, payment terms, tags, and auto-approval.
Overview: Automating Invoices Immediately upon Arrival
Incoming workflows allow you to automate exactly how invoices are processed the very second they arrive and are ingested into Winvoice—before any user even opens or inspects them.
Whether an invoice arrives via email, EDI/AutoInvoice, mobile scan, or manual PDF drag-and-drop upload in the portal, incoming workflows execute immediately after AI OCR interpretation is complete.
Unlike Approval Workflows (which evaluate line-by-line during the approval phase), incoming workflows operate across the entire invoice as a unified entity.
A workflow activates automatically as long as the invoice's header or overall properties match the criteria configured under "When should this happen?".
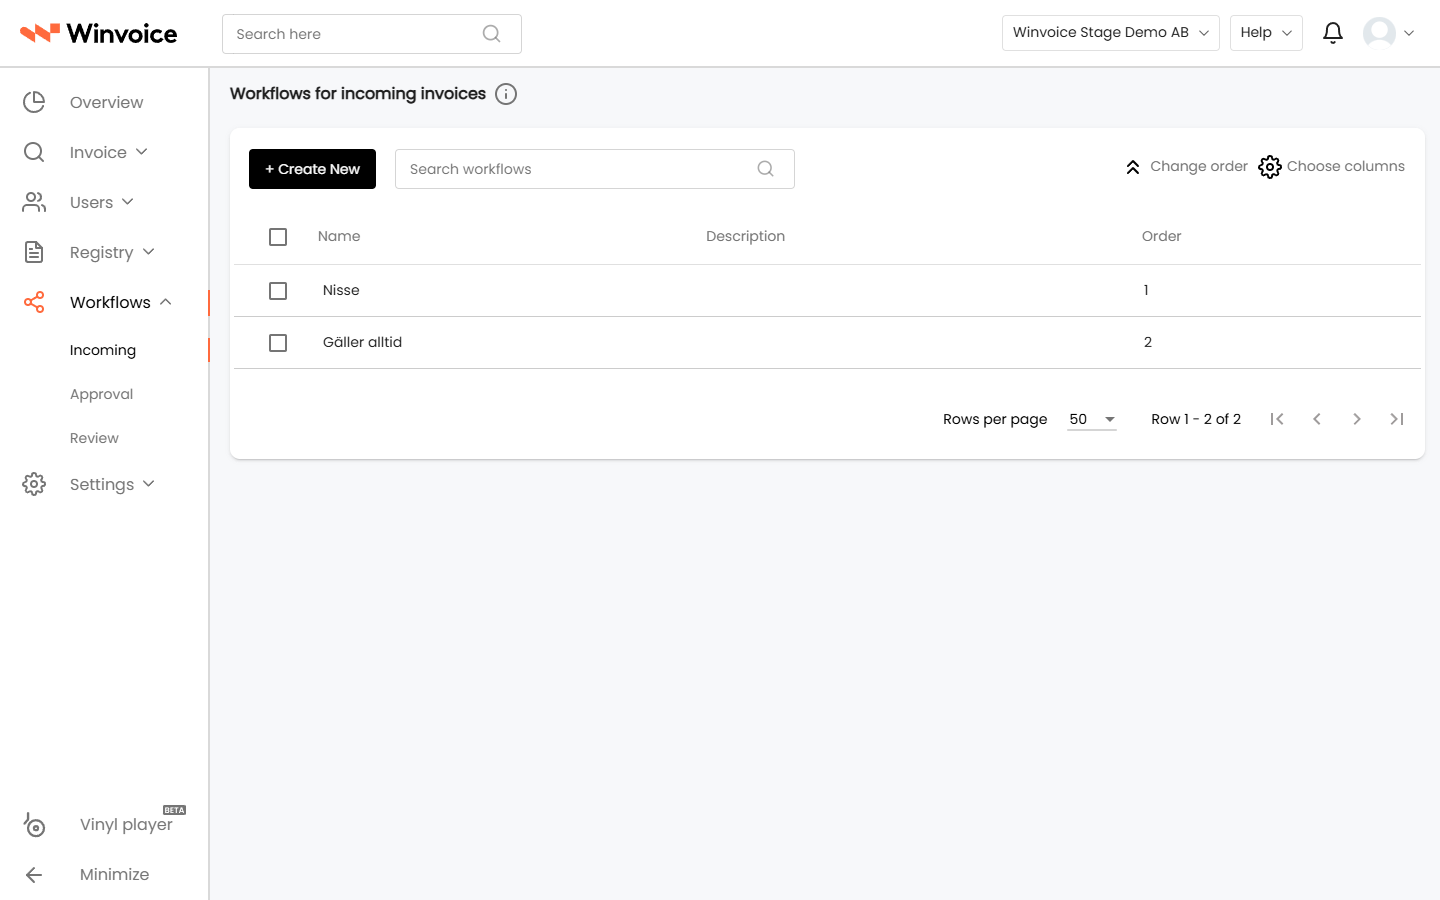
Incoming workflows are configured under Workflows → Incoming.
1. Creating and Configuring an Incoming Workflow
Navigate to Workflows → Incoming in the main navigation menu and click Create New (or click an existing workflow in the list to edit it).
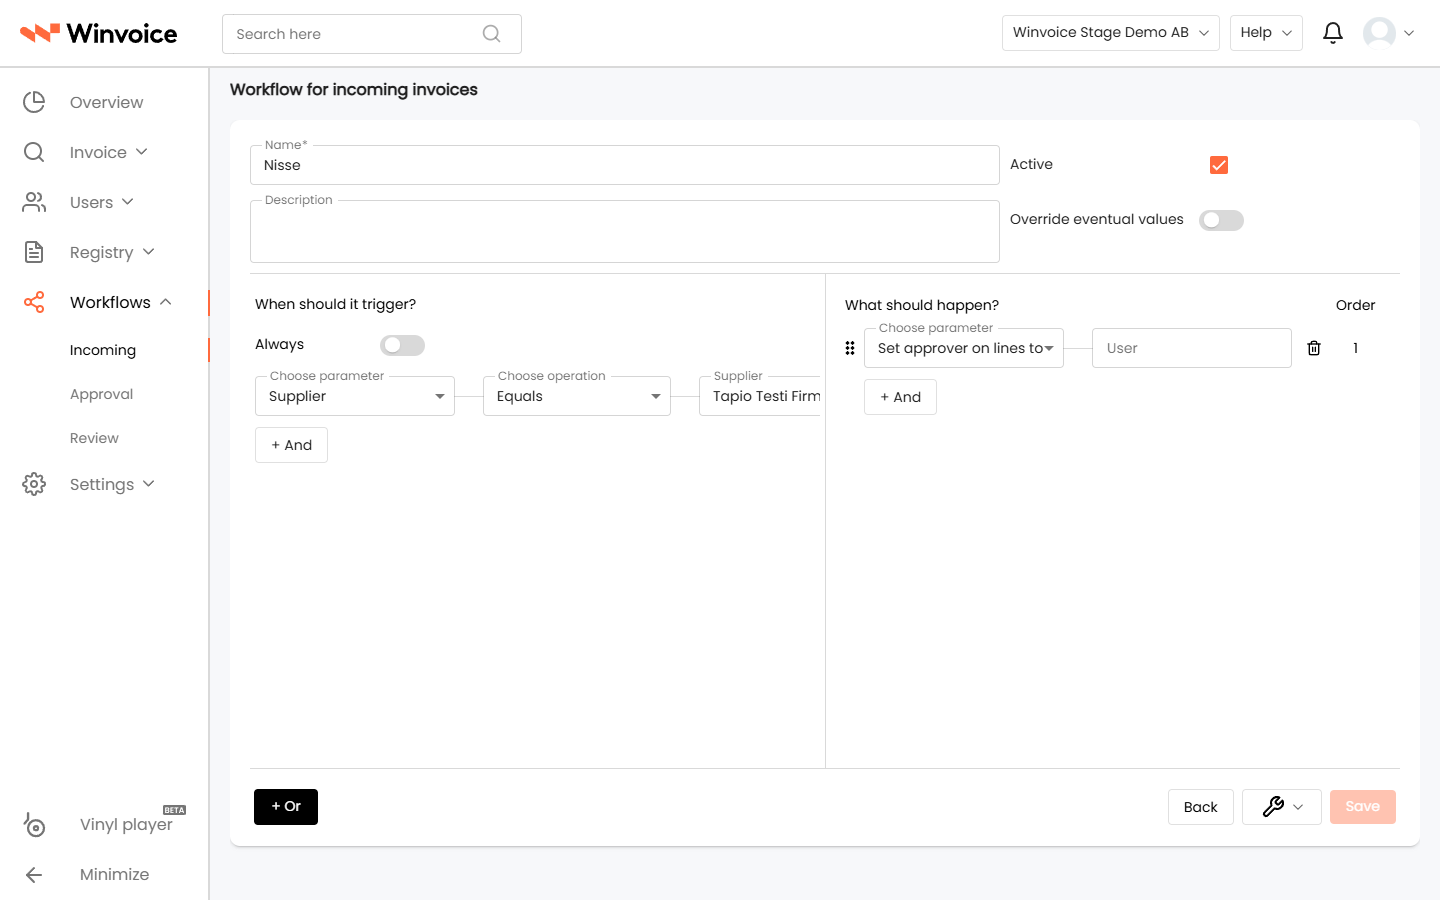
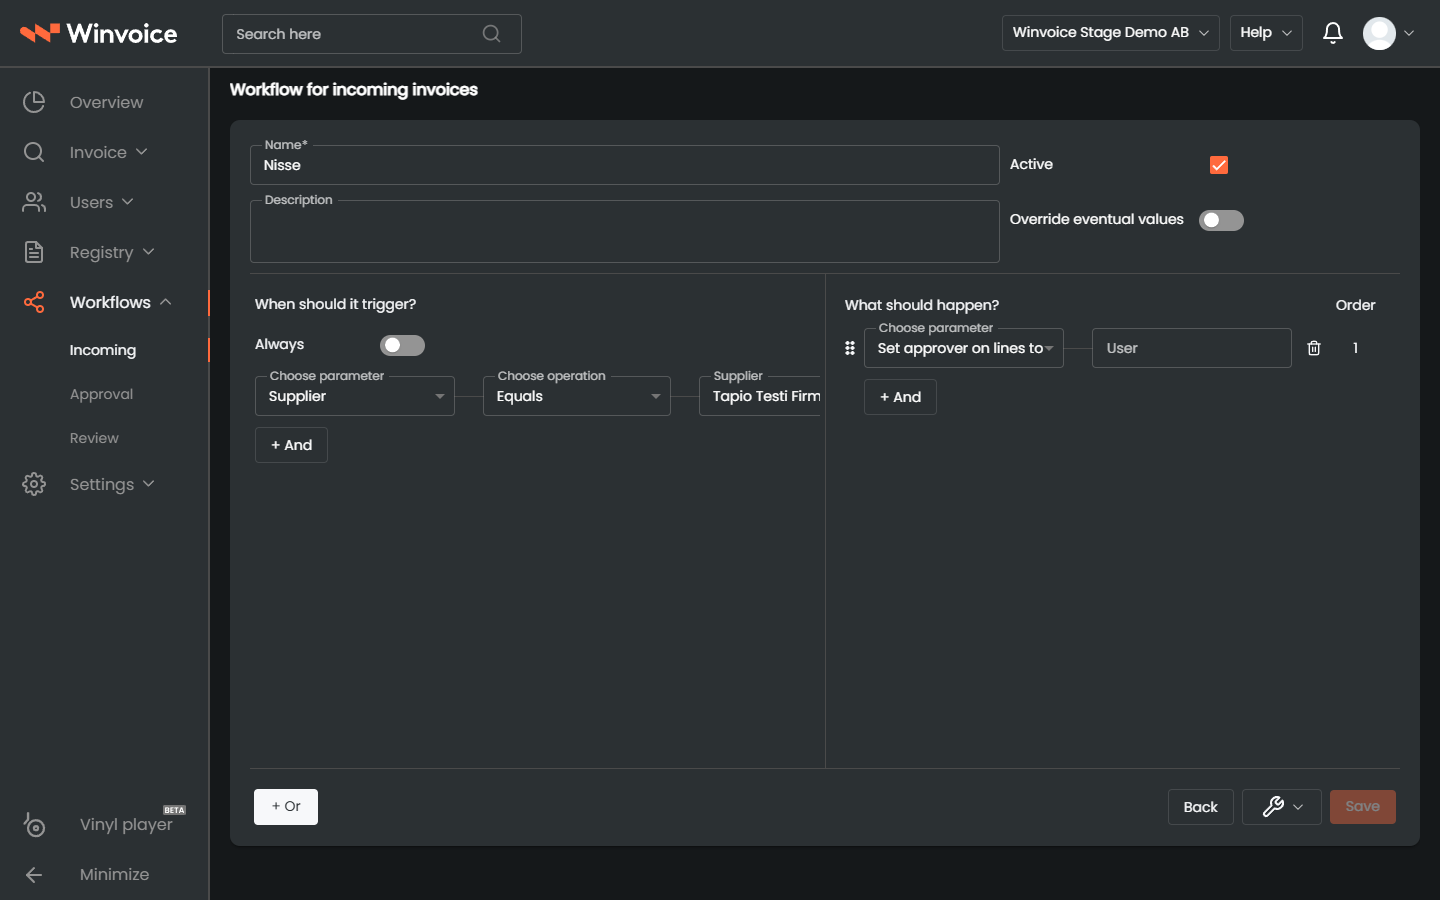
Configure the baseline workflow properties in the header form:
- Name: A clear, functional title (e.g. Fortum – Auto-Coding & Electricity Template or Recurring Rent – Auto-Approval).
- Description: Optional internal notes explaining the workflow's objective for administrators and colleagues.
- Active Workflow: Toggle the workflow on or off without deleting its underlying configuration.
- Override Values (Override):
- When enabled, the workflow's actions overwrite values extracted by the AI engine or default values from the ERP.
- When disabled, the workflow only populates fields that are currently empty.
2. Conditions – "When should this happen?"
Under the conditions panel, define the criteria specifying which incoming invoices trigger the workflow.
Always vs. Custom Parameters
- Always: Enable this toggle if the workflow should execute unconditionally on all incoming invoices regardless of amounts or vendors.
- Specific Condition Groups: Construct precise criteria using the rule builder:
- + And (within group): Adds another condition to the same group. All conditions in that group must evaluate to true simultaneously (logical AND).
- Add Group / Or (between groups): Creates a new, distinct condition group. The workflow triggers if either Group 1 or Group 2 is satisfied (logical OR).
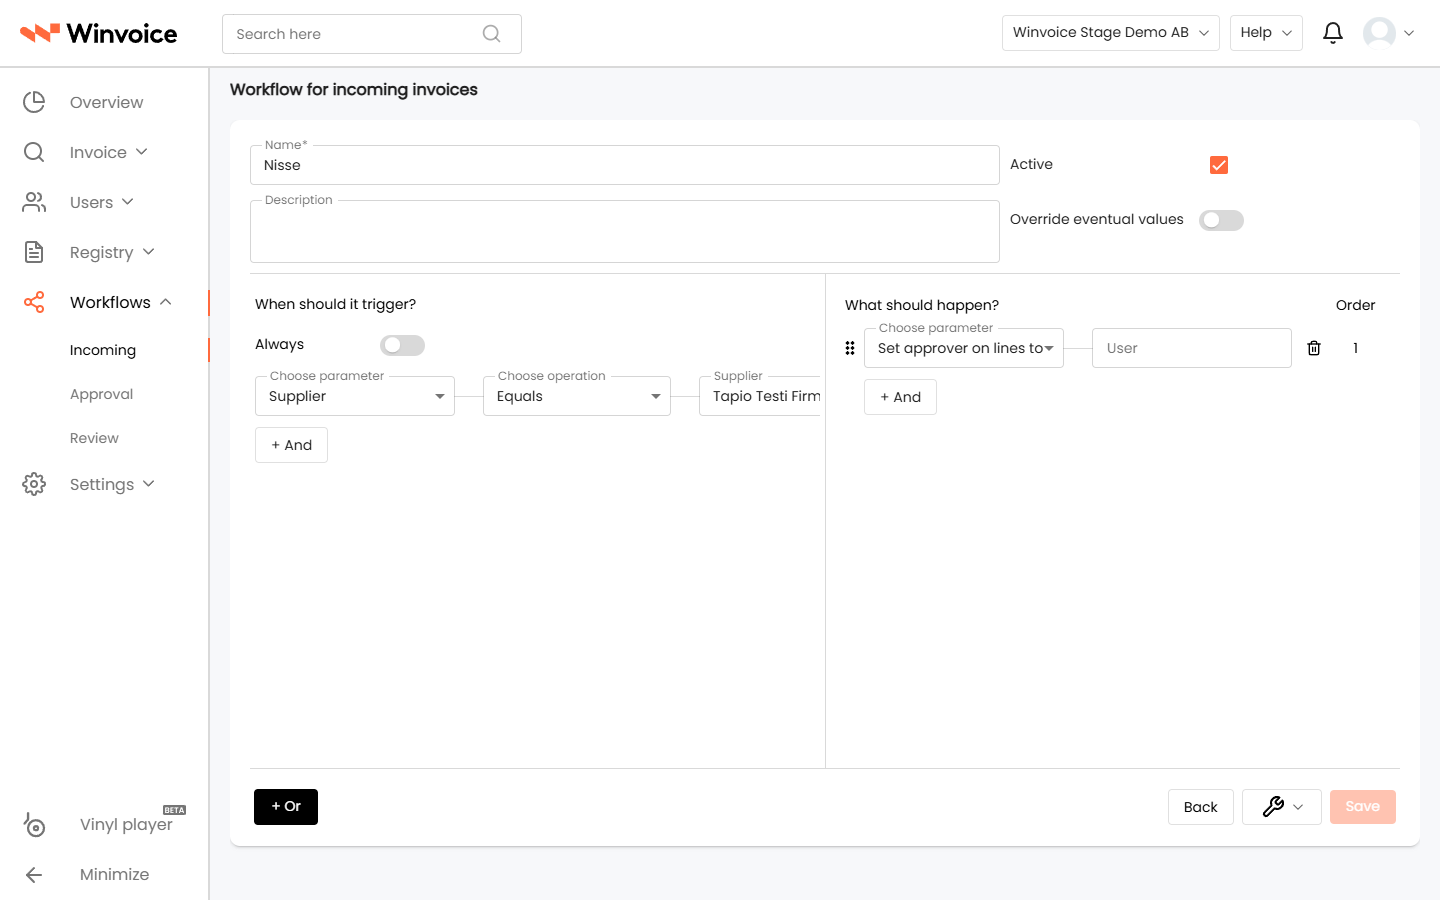
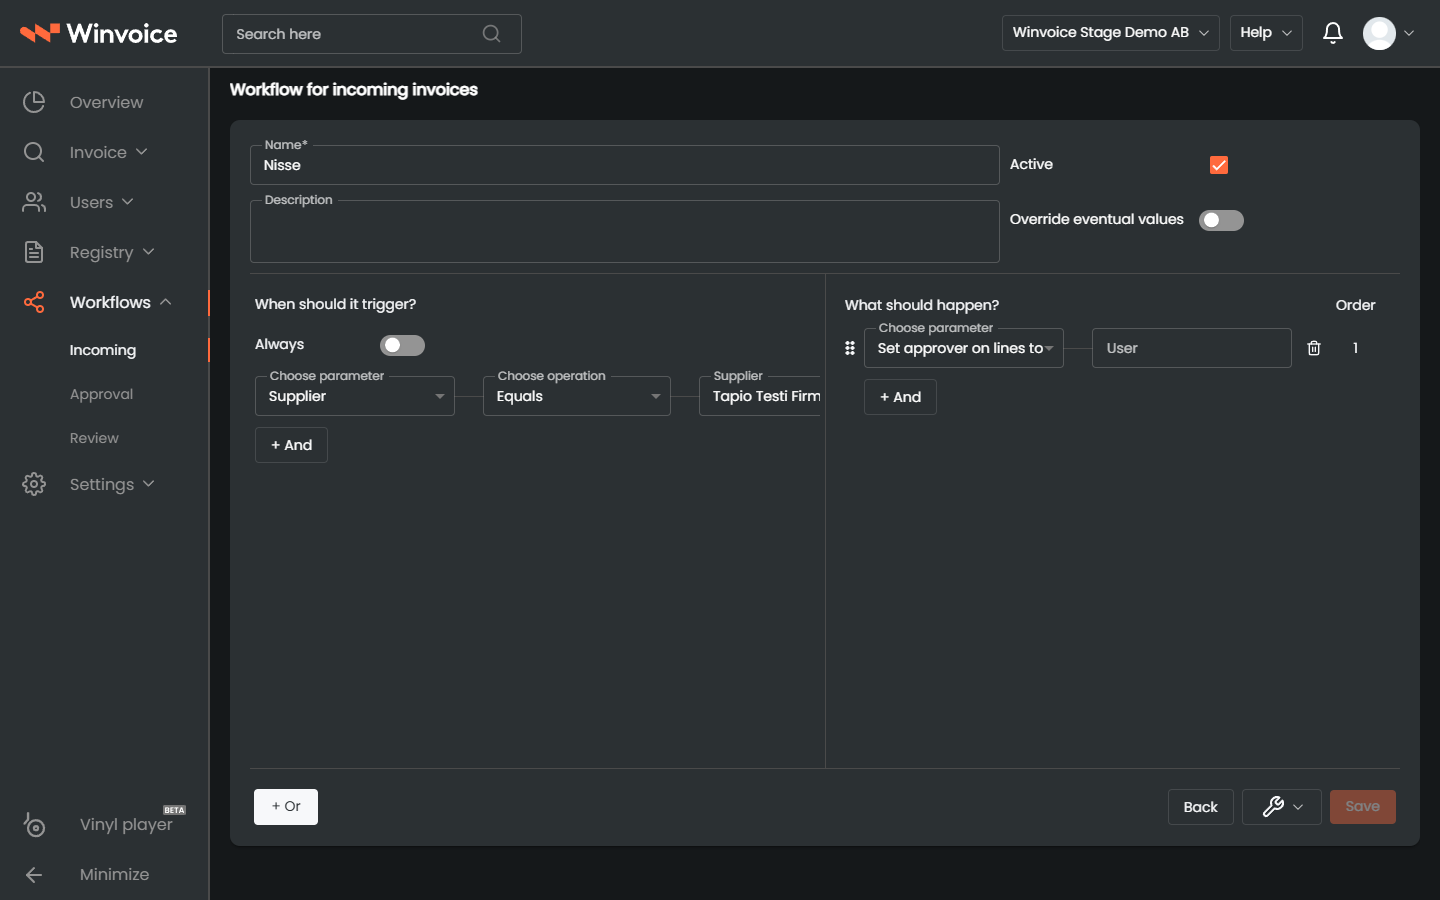
Available Ingestion Parameters
You can evaluate any of the following attributes during import and OCR parsing:
- Supplier: Match against a specific supplier, suppliers carrying a particular tag, or text matching on vendor name (starts with, contains, ends with).
- Buyer Reference / Invoice Reference: Match against an individual's name, reference code, or department code parsed from the invoice's reference fields.
- Order Number / Purchase Order: Match against parsed order references for automatic purchase order matching.
- Amounts & VAT:
- Total amount including VAT (
=,!=,>,<,>=,<=). - Amount excluding VAT (net amount).
- VAT amount.
- Total amount including VAT (
- Invoice Type: Distinguish between incoming Debit Invoices and Credit Invoices.
- Currency: Match against the invoice currency (e.g. Currency = EUR or USD).
- Attachment Text / Document OCR Data: Search for specific keywords or phrases in the parsed OCR text or attached document specifications.
- Tags: Target invoices carrying or missing specific internal tags.
3. Actions – "What should happen?"
In the right-hand actions panel, specify the tasks to execute automatically when conditions match.
Available Action Types on Ingestion
- Apply Accounting Template: Automatically apply a predefined Accounting Template to distribute amounts by percentage or fixed sums.
- Apply Previous Accounting (
Previous Accounting): Automatically copy the line-item coding from the most recently approved invoice from the same vendor. - Set Invoice Type: Assign or correct the document type (Debit or Credit) immediately upon ingestion.
- Set Payment Terms:
- Supplier Payment Terms: Apply the vendor's registered payment terms synchronized from the ERP.
- Custom Payment Terms: Specify a fixed number of due days (e.g. 30 days).
- Set Approver on All Lines: Assign a designated user as the primary approver across all lines on the invoice.
- Set Account / Project / Dimension on All Lines: Populate default accounts or dimensions across all lines.
- Apply Supplier Defaults:
- Set supplier cost account on all lines.
- Set supplier project on all lines.
- Set supplier approver on all lines.
- Set supplier VAT code on all lines.
- Send for Approval: Release the invoice and dispatch notifications immediately to the assigned reviewers.
- Approve All Lines: Automatically sign off all accounting lines upon arrival (ideal for fixed recurring rent or subscriptions that do not require human verification).
- Clean Invoice Lines:
- Remove Zero-Amount Lines: Automatically eliminate zero-sum specification lines.
- Merge Accounting Lines: Consolidate identical accounting lines into clean aggregate rows.
- Adjust VAT Amount: Adjust the VAT percentage if an invoice requires non-standard VAT reconciliation.
- Add / Remove Tags: Assign internal Tags to the invoice (e.g. Missing Contract, Pre-Reviewed).
- Send Notification or Email: Dispatch instant in-app alerts or email notifications to designated roles.
Click Save at the bottom right to commit the workflow.
4. Managing and Prioritizing Incoming Workflows
Priority Ordering (Execution Sequence)
When an incoming invoice satisfies the criteria of multiple incoming workflows, they execute in the order listed under Workflows → Incoming:
- Workflows at the top possess highest priority (Rule 1 executes before Rule 2).
- Reorder workflows by dragging and dropping rows in the list or clicking the arrow buttons. Click Save to apply changes.
Multi-Select and Step-Through Navigation (Record Stepper)
- Multi-Select: Select multiple workflows using checkboxes to activate, deactivate, or delete several rules at once.
- Step-Through Navigation (Record Stepper): Iterate sequentially through workflows using the navigation controls in the header (
< Previous | Next >) without returning to the list view.
Tools Menu (Wrench Icon)
Located at the bottom right of the editor, the wrench icon provides quick administrative utilities:
- Copy Workflow: Creates an exact duplicate as a new draft.
- Changelog: Displays who modified the workflow and provides an audit history of changes.
- Delete: Permanently removes the workflow upon confirmation.