Buyer References & Reference Rules
In Winvoice, you can automate invoice routing by linking the supplier's interpreted buyer reference to preconfigured registry records. When an invoice arrives and its reference matches an active rule, the correct approver, project, cost center, or account is assigned immediately without manual intervention.
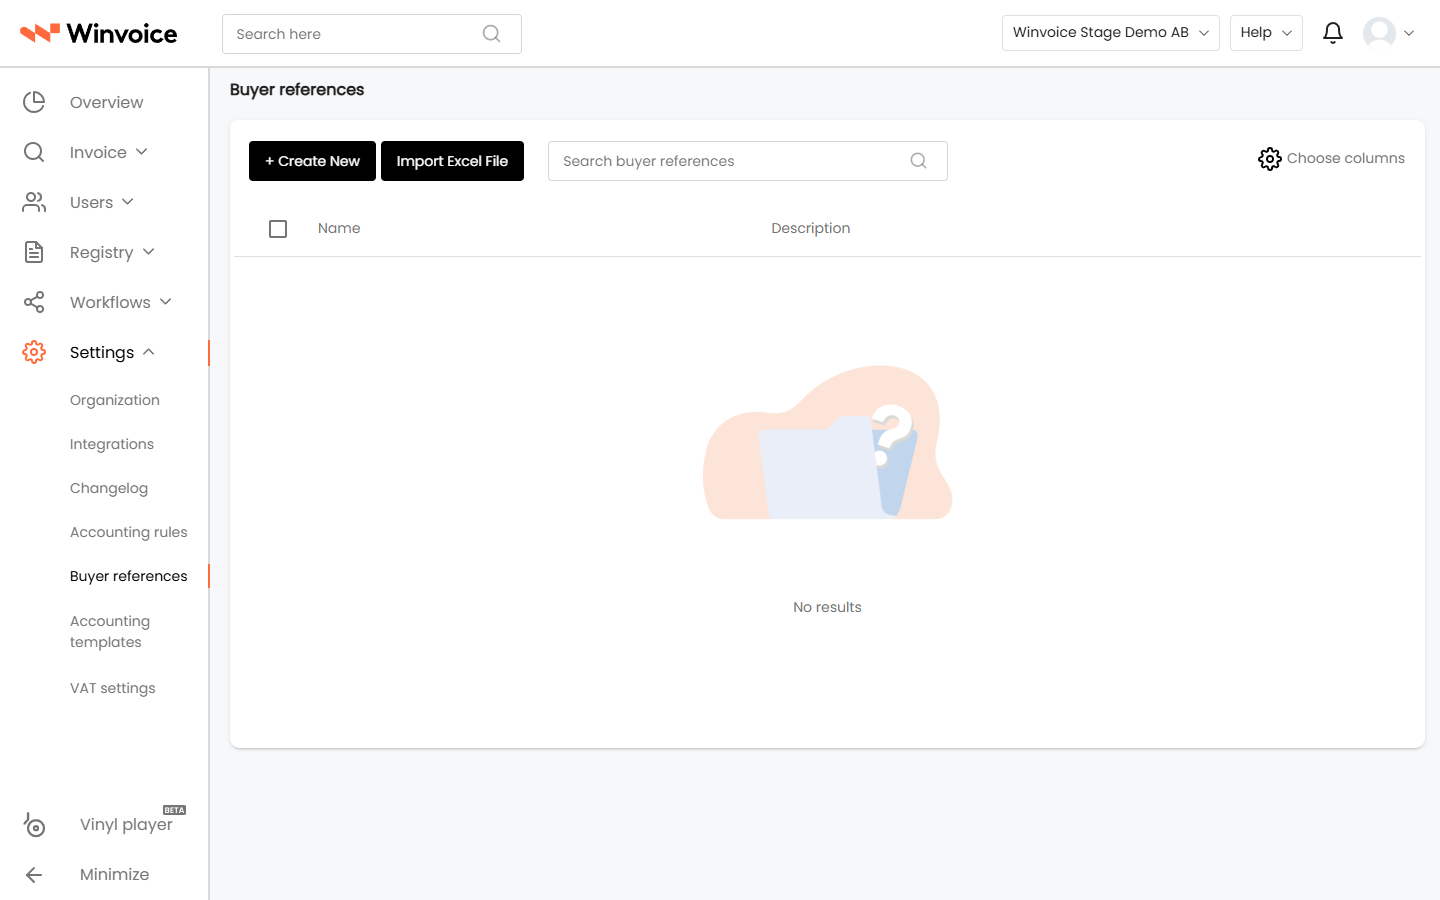
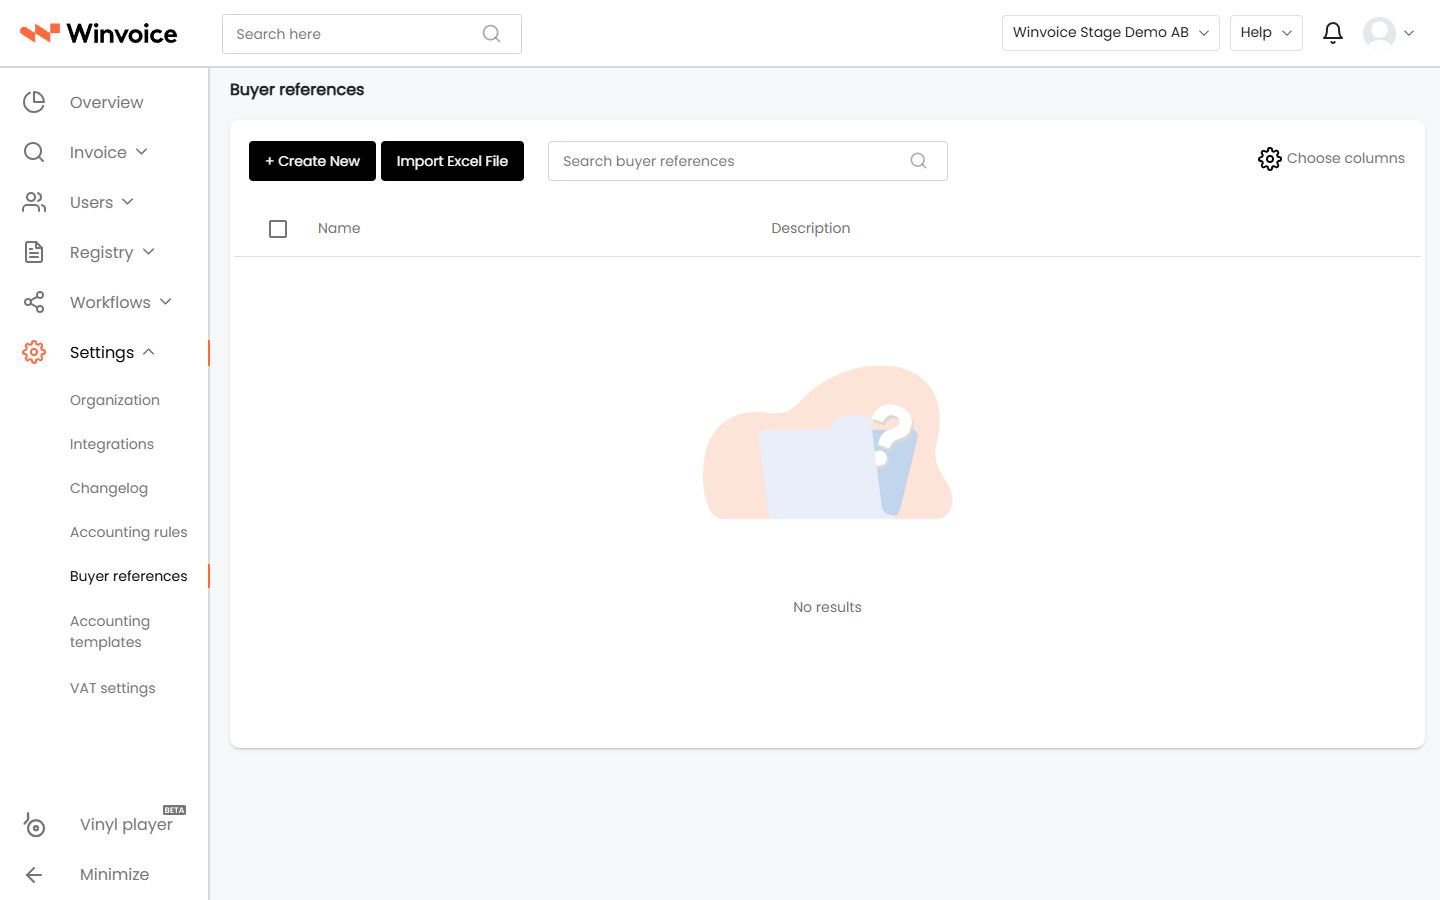
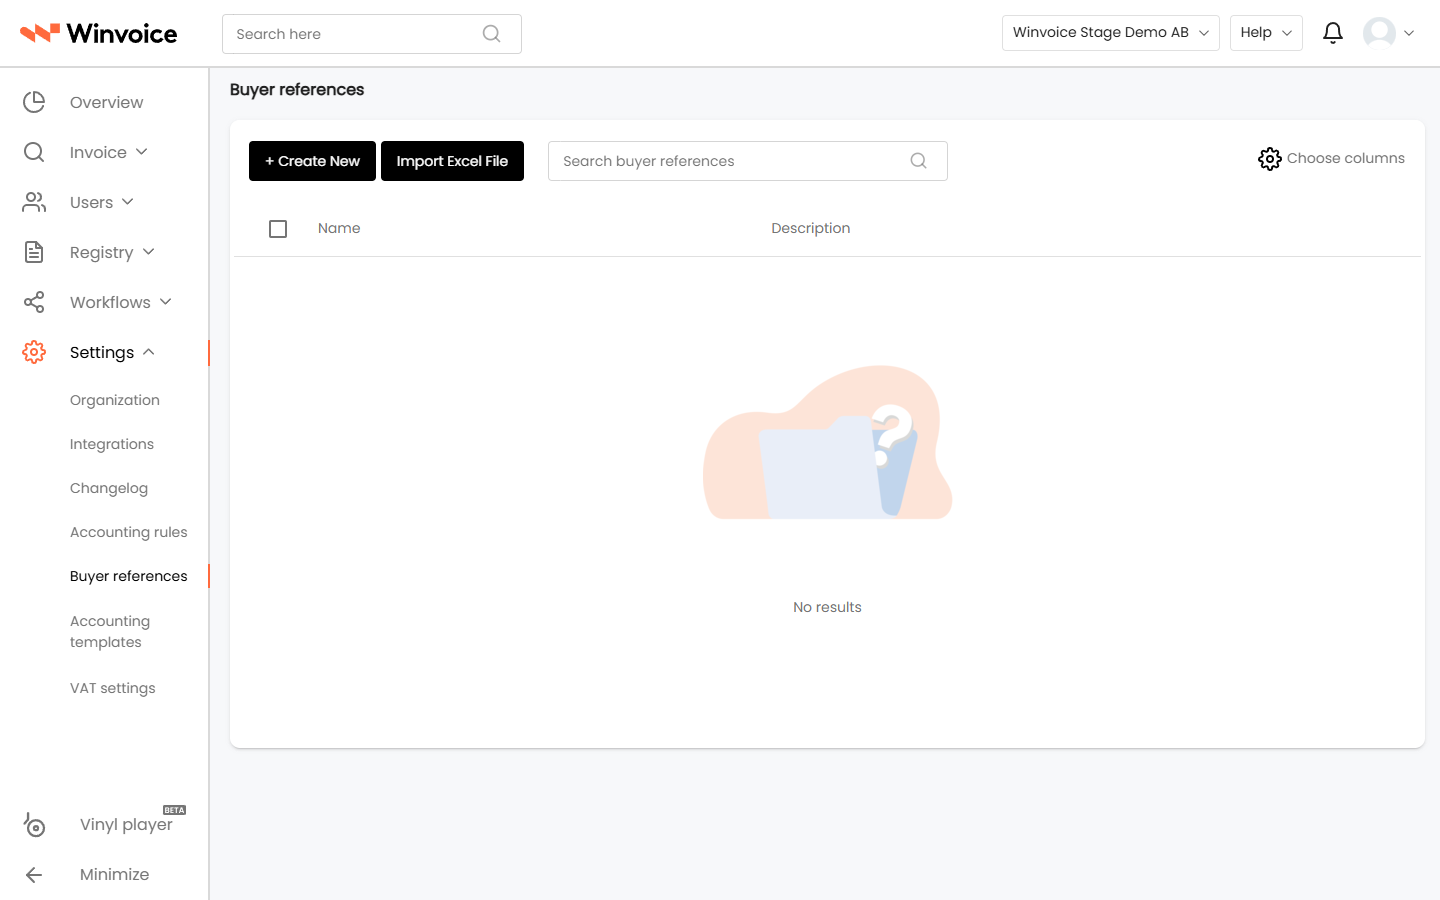
Reference rules are managed under Settings → Buyer References.
1. How Reference Rules Work
Once invoice interpretation finishes, the system checks active reference rules:
- Automatic Assignment: If an interpreted reference (e.g., Buyer ID: 1042 or Ref: John D) satisfies a rule condition, corresponding values are populated on the distribution lines or in the approver field.
- Case-Insensitive Matching: Matching is not case-sensitive (john.doe matches identically to John.Doe).
- Multi-Registry Setting: A single reference rule can populate multiple values simultaneously—such as both an approver and a specific cost center.
2. Creating a Reference Rule Manually
- Navigate to Settings → Buyer References and click Create New (or select an existing rule to edit).
- Enter a descriptive Name and an optional description.
- Click Add Buyer Reference Rule and choose which registry to control:
- Approver: Assigns the invoice directly to the responsible reviewer.
- Project: Assigns a specific project on the distribution line.
- Cost Center / Dimension: Populates cost center or departmental dimensions.
- Account: Sets the default general ledger account.
Select Matching Method
Define how the interpreted string is evaluated:
- Equals / Does not equal: Exact match with the defined value.
- Contains: Matches if the reference contains the designated substring (e.g., if "Order #4500" contains "4500").
- Starts with / Ends with: Matches the beginning or ending of the string.
- Name as reference: Matches if the reference corresponds to a name in the target registry.
- Email as reference: Matches if the interpreted reference is a user's email address.
- Code / Number as reference: Matches against registry codes or user numbers.
Click + to add more matching criteria to the same rule, then click Save.
3. Importing Reference Rules from Excel
If your organization handles extensive reference tables or if internal buyers use initials, employee IDs, or external codes, managing rules via Excel is ideal:
- Click Import Excel File in the upper right corner of the reference page.
- Download the pre-formatted Excel template via the dialog link.
- Populate the columns:
- Reference: The string printed by the supplier on the invoice.
- Registry Type: Target registry (Approver, Project, Cost Center, etc.).
- Target Value: User name, project code, or account number.
- Upload the completed spreadsheet and review the preview before confirming the import.
4. Managing Existing Rules
- Record Stepper: While viewing or editing a rule, navigate to the previous or next rule using the header arrows (
< Previous | Next >). - Tools Menu (Wrench):
- Changelog: Complete audit trail showing who created or modified the rule and when.
- Duplicate Rule: Generates a new draft based on the current configuration.
- Delete: Permanently removes the rule.