Restrictions – Controlling Accounts and Dimensions
Complete guide to restrictions in Winvoice: control which accounts, projects, and dimensions users, roles, or groups are authorized to code.
Overview: Robust Internal Control and Error Prevention
With the Restrictions module, administrators can precisely govern which options different users, roles, or user groups are permitted to select when coding invoices.
Restricting accessible accounts and dimensions delivers several critical operational benefits:
- Fewer Coding Errors: Reviewers only see accounts, cost centers, or projects that directly pertain to their operational scope.
- Internal Control and Confidentiality: Sensitive accounts (e.g. payroll, executive compensation, or confidential R&D projects) can be barred from unauthorized viewing.
- Simplified User Interface: Shorter, cleaner dropdown results when approvers search the chart of accounts.
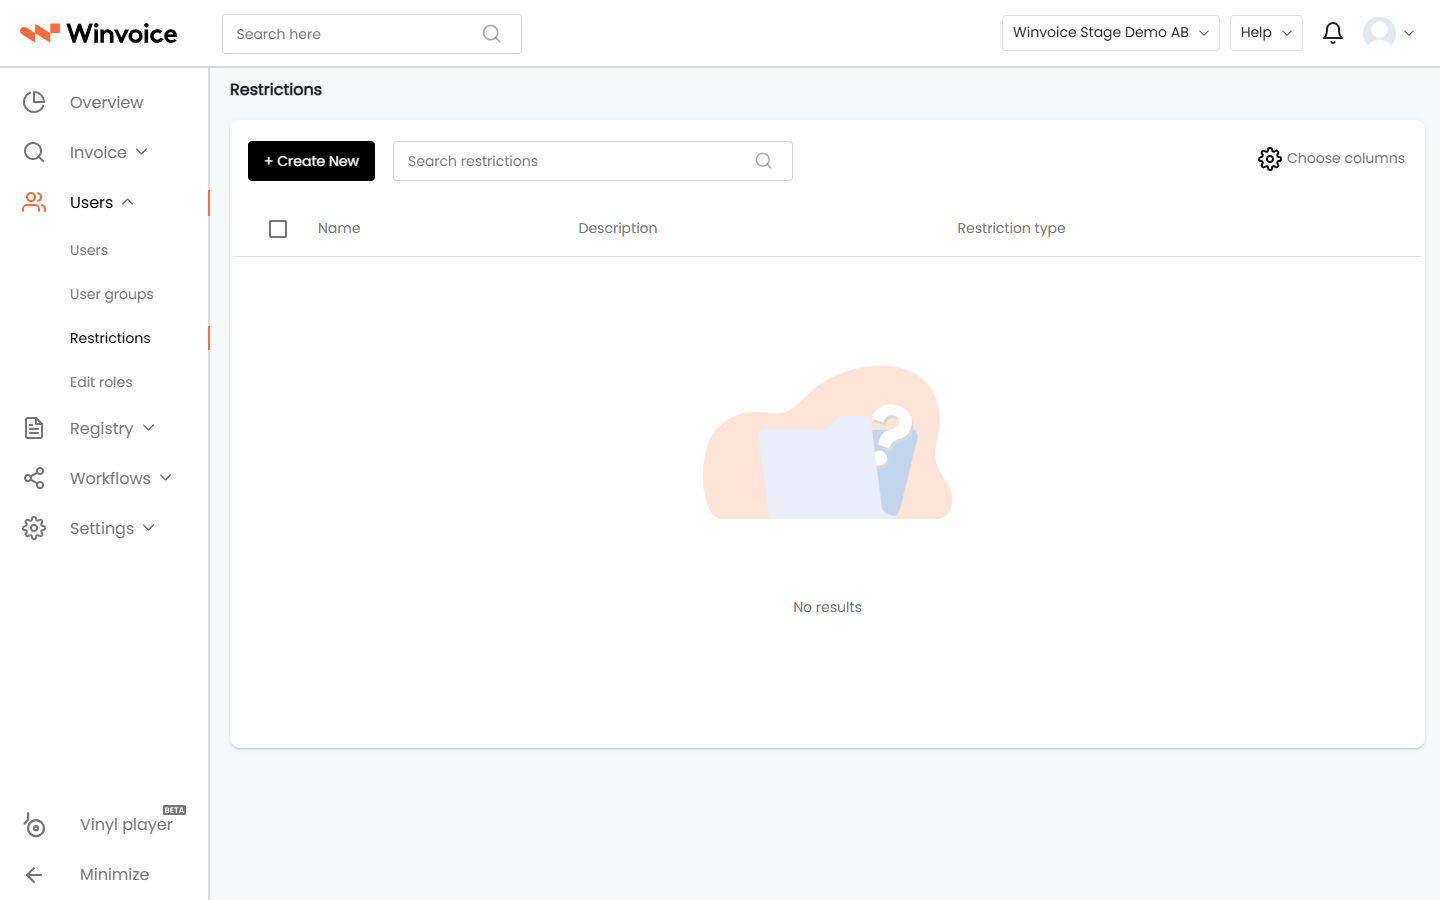
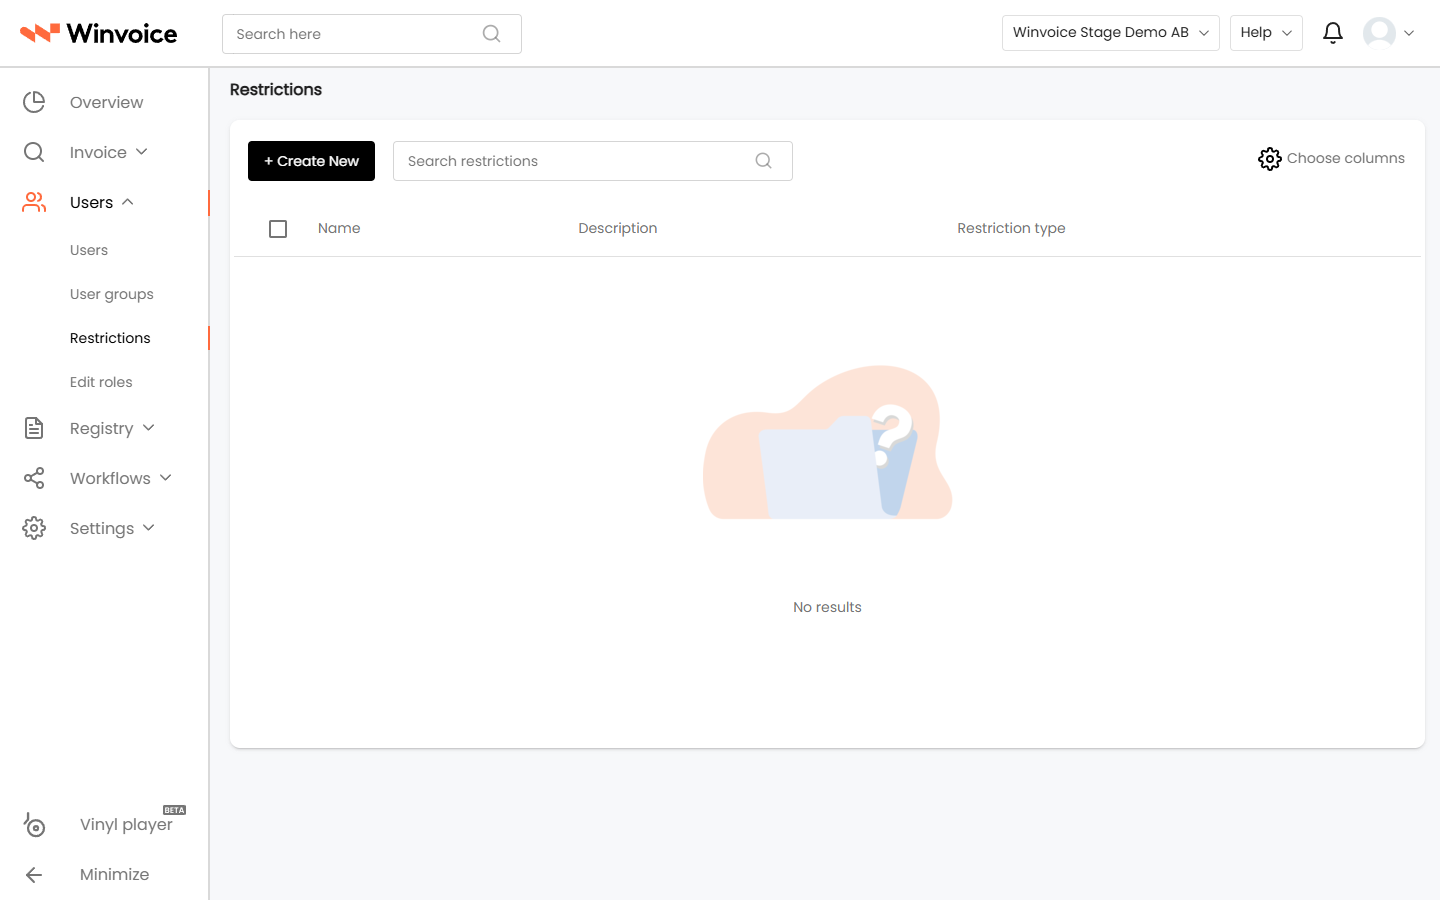
Restrictions are configured under Users → Restrictions in the main navigation menu.
1. Creating and Configuring a Restriction Rule
Navigate to Users → Restrictions and click Create New (or select an existing rule from the list to edit it).
The configuration is divided into two tabs:
Tab 1: General Settings
- Name: A clear and descriptive title (e.g. Site Managers – Authorized Projects Only or Department Heads – Bar Personnel Accounts).
- Description: Optional notes clarifying the rule's operational intent for fellow administrators.
- Restriction Types: Choose the audience targeted by the restriction:
- Users: Applies to specific named individuals.
- Roles: Applies to all users holding a designated role (e.g. all users with the Approver role).
- User Groups: Applies to all members of a configured User Group.
- Recipients: Select the individuals, roles, or groups covered by the rule.
2. Tab 2: Registries (Accounts, Dimensions & Projects)
Under the Registry tab, define which system registers to restrict and how boundaries are enforced.
Adding Registries
- Click Add Registry. A dropdown displays all available registers synchronized from your ERP (e.g. Account, Cost Center, Project, Department, etc.).
- Select the register to restrict. A dedicated configuration container opens.
Whitelisting vs. Blacklisting (Allow Only vs. Exclude Selected)
Winvoice provides two distinct modes for each registry:
- Allow Only (Whitelist / Selected):
- Move the specific accounts or projects users are permitted to use from the left column (Unselected) to the right column (Selected).
- Targeted users will exclusively be able to view and select these chosen items. All other register entries remain hidden.
- Exclude Selected (Blacklist / Exclude Selected):
- If users require access to the entire register except a few sensitive entries (e.g. bar accounts 7010–7299 for payroll), move those specific entries to Selected and check Exclude Selected.
- Users retain access to every entry except the explicitly blocked records.
You can click Add Registry again to restrict multiple registries within a single unified rule (e.g. restricting both accounts and projects simultaneously).
Click Save when finished.
3. User Experience in the Invoice View
When a restricted user opens an invoice for coding or review, the interface adapts automatically:
- Dynamic Autocomplete Filtering: Search fields for accounts, cost centers, and projects exclusively populate with authorized options.
- Validation Enforcement: If a user attempts to manually enter a prohibited account number, Winvoice displays an immediate validation error and blocks saving until an authorized code is selected.
4. Managing Existing Restrictions
- Step-Through Navigation (Record Stepper): In the edit view, administrators can use the header navigation arrows (
< Previous | Next >) to iterate sequentially through restriction rules without returning to the list view. - Changelog: Accessible via the tools menu, a comprehensive audit history logs who created or altered the restriction rule along with precise timestamps.